This guide shows the 4 simple steps to install and activate WPvivid Backup Pro on your WordPress website.
Step 1. Download WPvivid Installer
Log in to your My Account area on wpvivid.com > Downloads section.
Click the Download button for the WPvivid Installer zip file.

Step 2. Install WPvivid Installer on Your Website
Go to your WordPress dashboard > Plugins > Click Add New > Click Upload Plugin and upload the installation zip you just downloaded > Click Install Now > Click Activate Plugin.
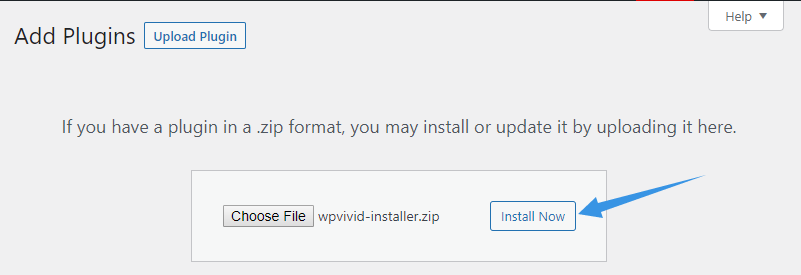
Note: On a WordPress MultisIte network, WPvivid installer should be installed on the network admin.
Step 3. Activate Your WPvivid Pro License
In the WPvivid plugin menu, navigate to the License tab, enter your WPvivid pro license key and click Activate.
You can find and manage your license key from your My Account area on wpvivid.com > License section.
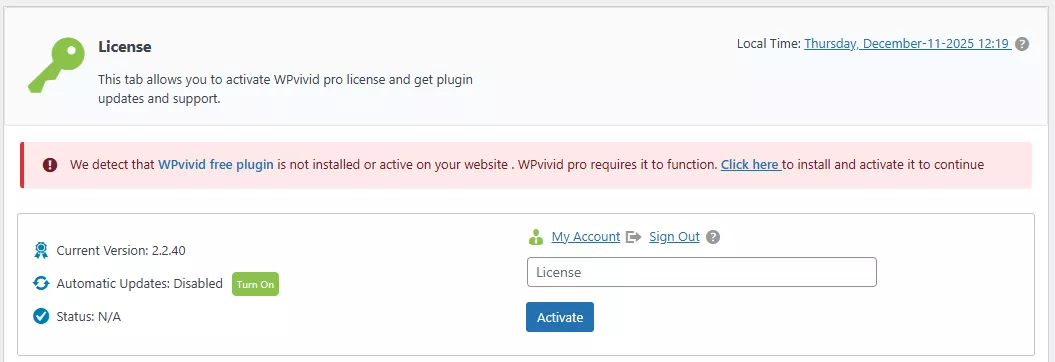
Note:WPvivid Pro requires the free version to function. If the free version is not installed, you will see a notice on the website, clicking the link in the notice will help you install and activate the latest WPvivid Backup Plugin (the free version).
Step 4. Install WPvivid Pro addons
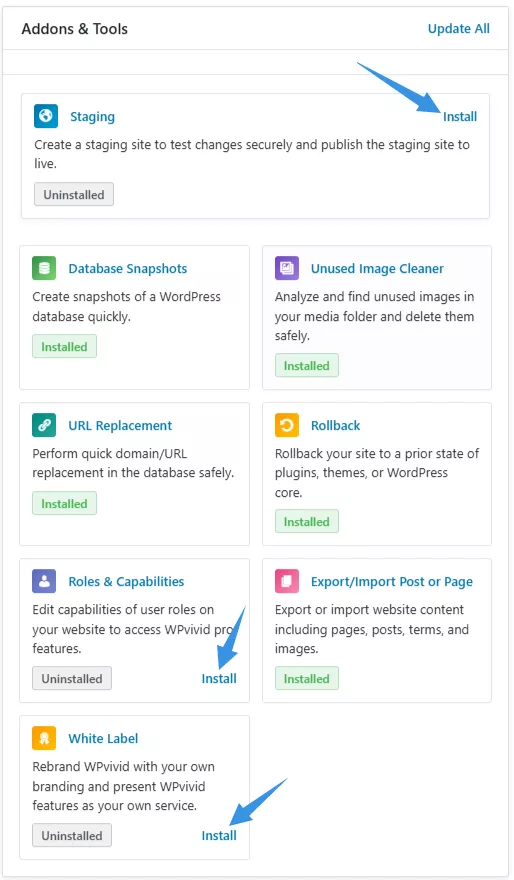
After successfully activating your pro license, you will be automatically redirected to the plugin’s Dashboard.
On this dashboard, find the Addons & Tools module. From here, you can install all WPvivid pro addons you wish to use on the site.
You are all set! You can now use all the WPvivid Pro features.
-
To get started quickly, please refer to our comprehensive documentation.
-
If you have any questions, please feel free to submit a ticket or contact us.