This guide provides a step-by-step walkthrough on how to use the Push to Live feature in WPvivid Staging Pro. This process allows you to safely deploy changes—such as new design layouts, content updates, or plugin configurations—from your staging environment to your production site.
How to Publish a Staging Site to Live
Once you have finished testing your changes in the staging environment, follow these steps to publish them to your live site.
Step 1: Access the Push to Live Feature
- 1. Log in to your Live Site WordPress dashboard.
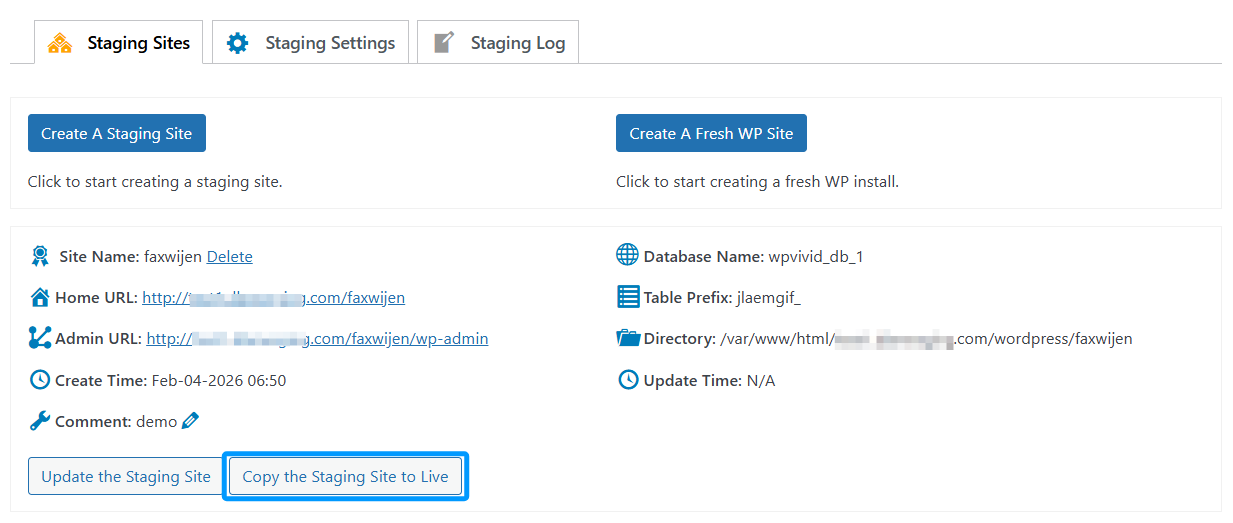
- 2. Navigate to WPvivid Plugin > Staging Sites tab.
- 3. Locate the staging site you wish to publish and click the Copy the Staging Site to Live button.
Step 2: Select What to Publish
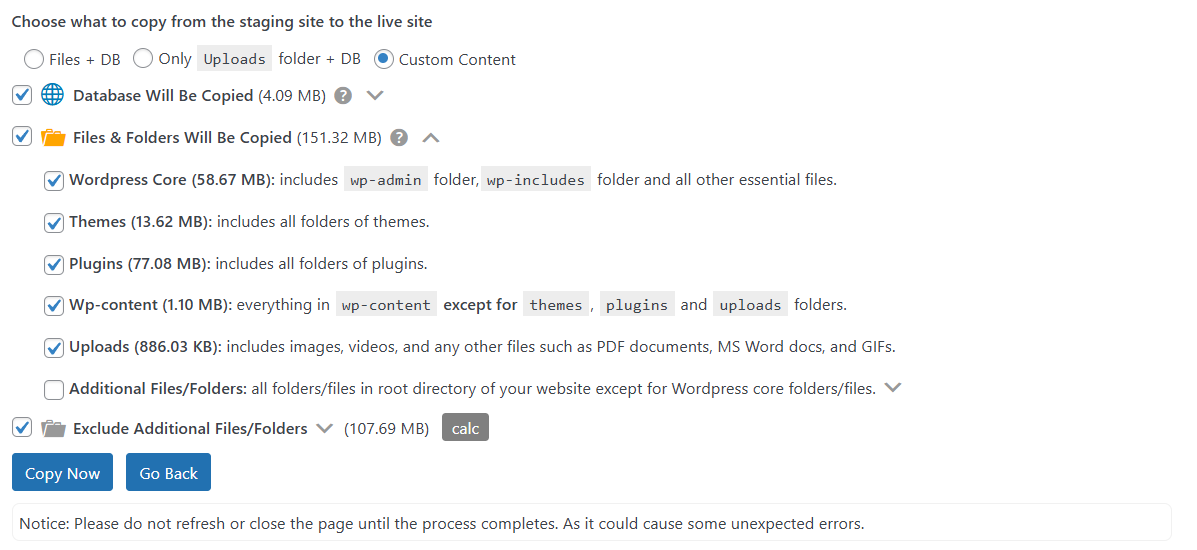
WPvivid gives you granular control over what data is transferred to the live site. You can choose one of the following options:
- 1. Everything (Database + Files):
This replaces the entire live site with the staging version. - 2. Only Uploads folder + Database:
Syncs the entire production database and uploads folder to the staging site—ideal for quickly capturing all recent content updates. - 3. Custom Content:
Allows you to select specific files, folders, and database tables to push.

Step 3: Configure Advanced Push Settings
Before starting the transfer, you can refine the process using these advanced options:
- 1. Database Tables:
If you chose to push the database, you can expand this section to include or exclude specific tables. - 2. File Exclusion:
You can choose to exclude certain large files or folders (like specific media uploads) to speed up the process. - 3. Media Library Sync:
Ensure that any new images uploaded to the staging site are properly synced to the live site’s media directory.
Step 4: Execute the Publish
Once you have chosen the content to publish:
- 1. Click Copy Now to begin the publish process.
- 2. Wait for the process to complete — this may take time depending on your connection and the amount of data.
Warning
Do not close or refresh the browser while the publish process is running. Interrupting the process can result in incomplete deployment.
Do not close or refresh the browser while the publish process is running. Interrupting the process can result in incomplete deployment.
What Happens After Publishing
- 1. WPvivid updates the live site with the selected content from the staging environment.
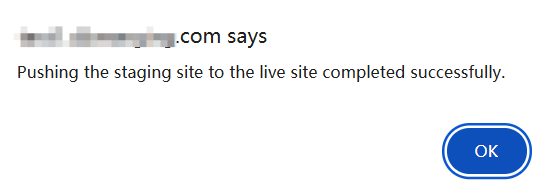
- 2. A success message is displayed when the process finishes.
- 3. Live site visitors will see the updated content once the process completes.