

What Is Remote Storage Migration
Remote storage migration uses cloud storage as a temporary transfer location between the source site and the destination site.
This method allows you to:
- Create a full backup of the source site and upload it directly to remote storage
- Access the same backup from the destination site
- Restore the website without local file transfers
This approach is ideal for large websites, limited server resources, or slow local network environments.
Before Starting the Migration
The following conditions should be met before proceeding:
- WPvivid Backup & Migration Pro is installed on both websites
- A supported remote storage account is connected on both sites
- The remote storage account has enough free space for the backup
- Both web hosting servers have sufficient disk space (at least 2x the source site size recommended)
Step-by-Step Migration Process
Step 1: Connect Remote Storage on the Source Site
On the source website (where you want to migrate from):
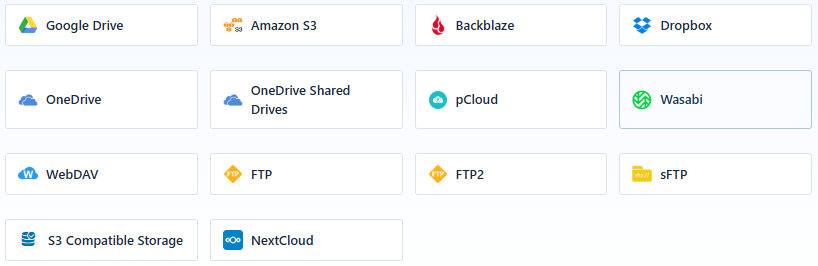
- Go to WPvivid Backup Plugin → Cloud Storage
- Select your preferred storage provider (Google Drive, Dropbox, Amazon S3, FTP/SFTP, Wasabi, etc.)
- Authorize WPvivid to access your storage account
After successful authorization, the remote storage account will be available as a backup destination.
Step 2: Create and Upload Backup to Remote Storage
Once a cloud storage account is connected on the source site:
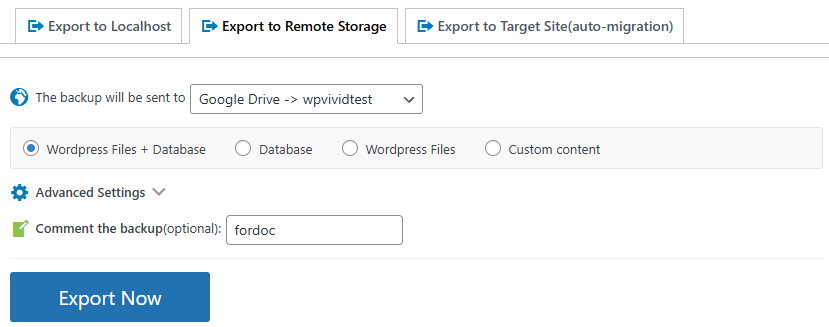
- Go to WPvivid Backup Plugin → Export Site
- Select Export to Remote Storage
- Choose the connected cloud storage account
- Select the content you’d like to export
- Optionally add a comment to identify the backup
- Click Export Now
WPvivid will package your website files and database, then upload the backup directly to the selected remote storage location.
You can close the browser during export, which will not interrupt the transfer process. The migration will continue running in the background on the server.
Step 3: Verify Backup Upload Completion
After export finishes:

- You’ll get a message of ‘Your site has been exported successfully’.
- Confirm backup files appear in your remote storage account
- Make sure the backup size matches your website data
This ensures the backup is ready for restoration on the destination site.
Step 4: Connect Remote Storage on the Destination Site
On the destination website (where you want to migrate to):
- Go to WPvivid Backup Plugin → Remote Storage
- Connect to the same remote storage account used on the source site
- Click Save Changes
This allows WPvivid on the destination site to access the exported backup files.
Step 5: Import Backup from Remote Storage
Once the same cloud storage account is connected on the destination site:
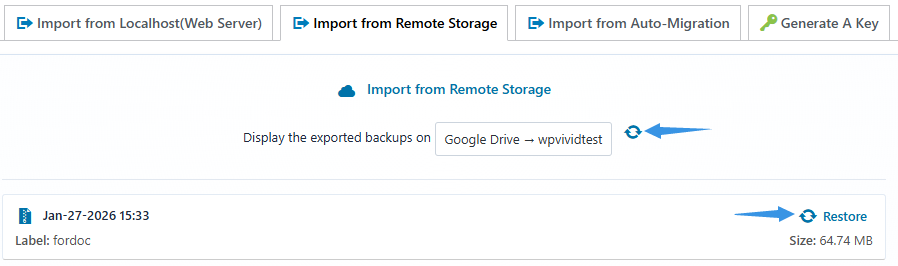
- Go to WPvivid Backup Plugin → Import Site
- Select Import from Remote Storage
- Click Refresh to load available backups
- Locate the exported backup and click Restore
- Click Retrieve to Localhost to download the backup to localhost
- Select content you’d like to restore and click Restore Now
WPvivid will then trigger the restoration process to finalize the site importing.
Step 6: Monitor Restore Progress
During the restore process, WPvivid will display real-time progress information including:
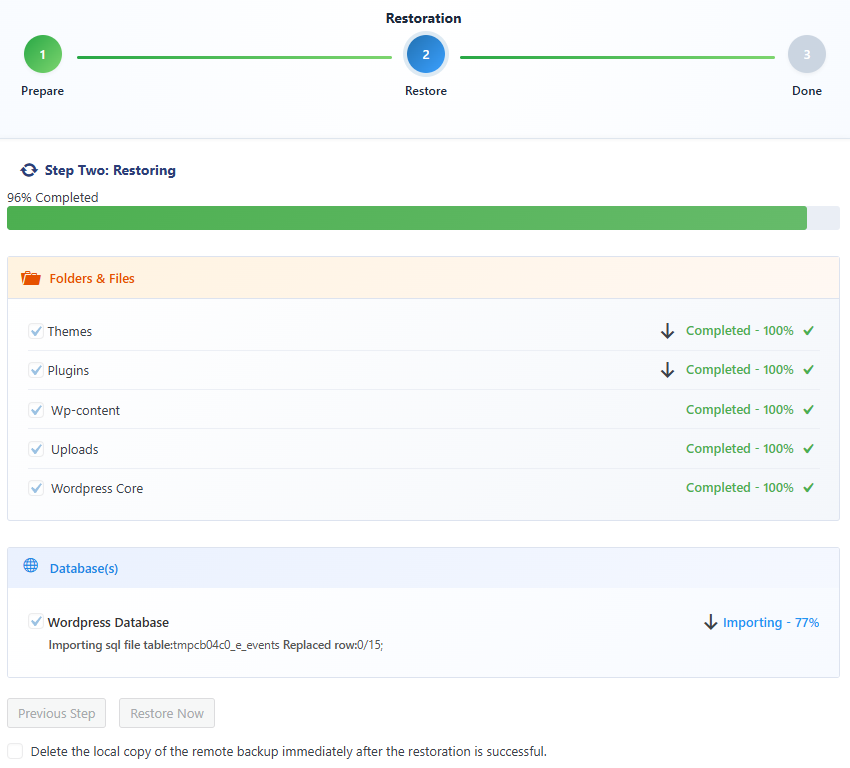
- Restore percentage
- File extraction status
- Database import progress
- Current task stage
Do not close or refresh the restore page. Wait until the process completes and the success or failed confirmation appears.
Step 7: Verify Migration Results
After restoration completes:
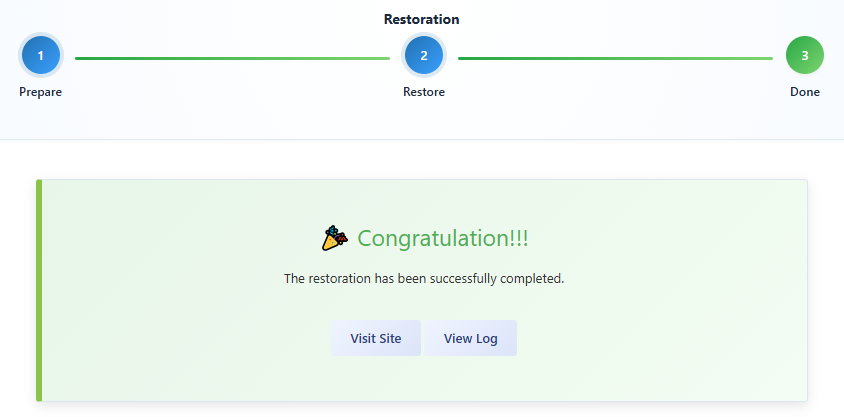
- You’ll see a restore successful message
- Check your homepage and key internal pages
- Verify plugins and themes are functioning properly
- Confirm media files display correctly
- Test important functionality (contact forms, e-commerce, user login)
- Check that database content is intact (posts, pages, users, settings)
Best Practices for Remote Storage Migration
To ensure smooth and reliable migrations, here are some best practices we recommend:
- Perform migrations during low-traffic periods to minimize user impact
- Ensure both source and destination sites are running compatible PHP and WordPress versions.
- Use a reliable remote storage provider with stable connectivity and sufficient bandwidth
- Test migrations on staging environments before production deployment.
- Do not delete the source site until you confirm the restored site is working as expected.
- Clear any caching plugins on destination site after migration.
Troubleshooting Migration Issues
If the migration process fails, times out, or becomes stuck, try adjusting the WPvivid Advanced Settings according to the documentation below:
If the issue persists, please contact WPvivid support for further guidance.