

WPvivid Staging Pro allows you to create a staging copy of your WordPress site in just a few steps. A staging site is an independent duplicate of your live site that you can use to test updates, changes, and new features without affecting production. This article describes the staging creation workflow and key concepts involved in generating a staging environment using WPvivid Staging Pro.
Step 1. Access the Staging Creation Interface
- 1. Log in to your WordPress admin dashboard.
- 2. Navigate to WPvivid Plugin > Staging Sites tab.
- 3. Click the Create A Staging Site button.
Step 2: Choose Database and Directory
First, define where your staging site will live and how it will handle data.
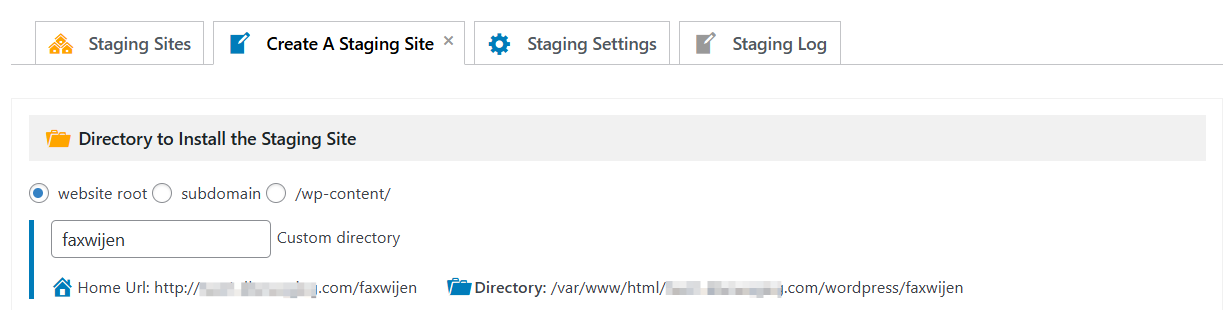
1. Select the Installation Directory
You can choose to install the staging site in a subdirectory of your current WordPress installation.
- 1. Directory Name:
Enter a name for the folder (e.g., staging01). This will also be the site’s name in the dashboard. - 2. Subdomain Option:
If you prefer to use a subdomain (e.g., dev.yourdomain.com), you must provide:
The existing subdomain URL created on your hosting panel and
The absolute path on your server where the subdomain is mapped

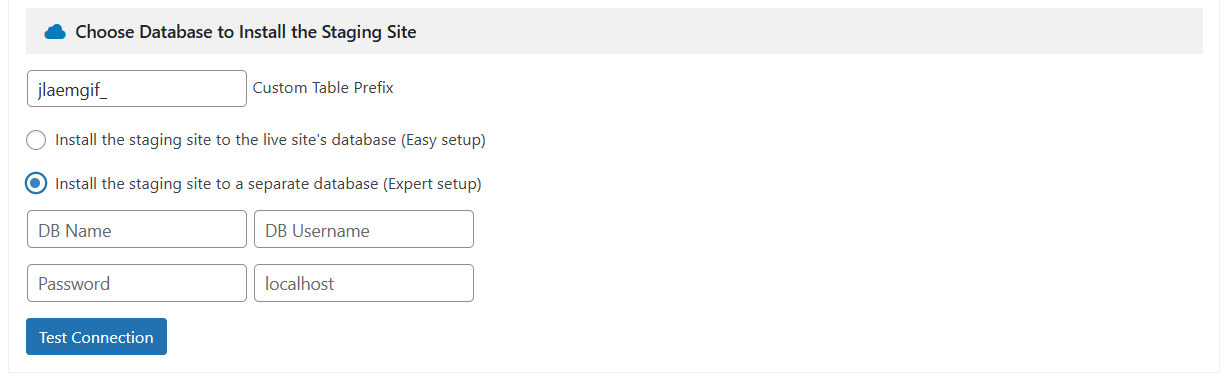
2. Configure the Database
- 1. Share Live Database (Recommended):
The staging site will use your existing database but will use a unique table prefix (e.g., wpstg_) to keep the data separate. - 2. Use a Separate Database:
If you prefer total isolation, you can install the staging site into a completely different database. You will need to provide the database name, username, password, and host.
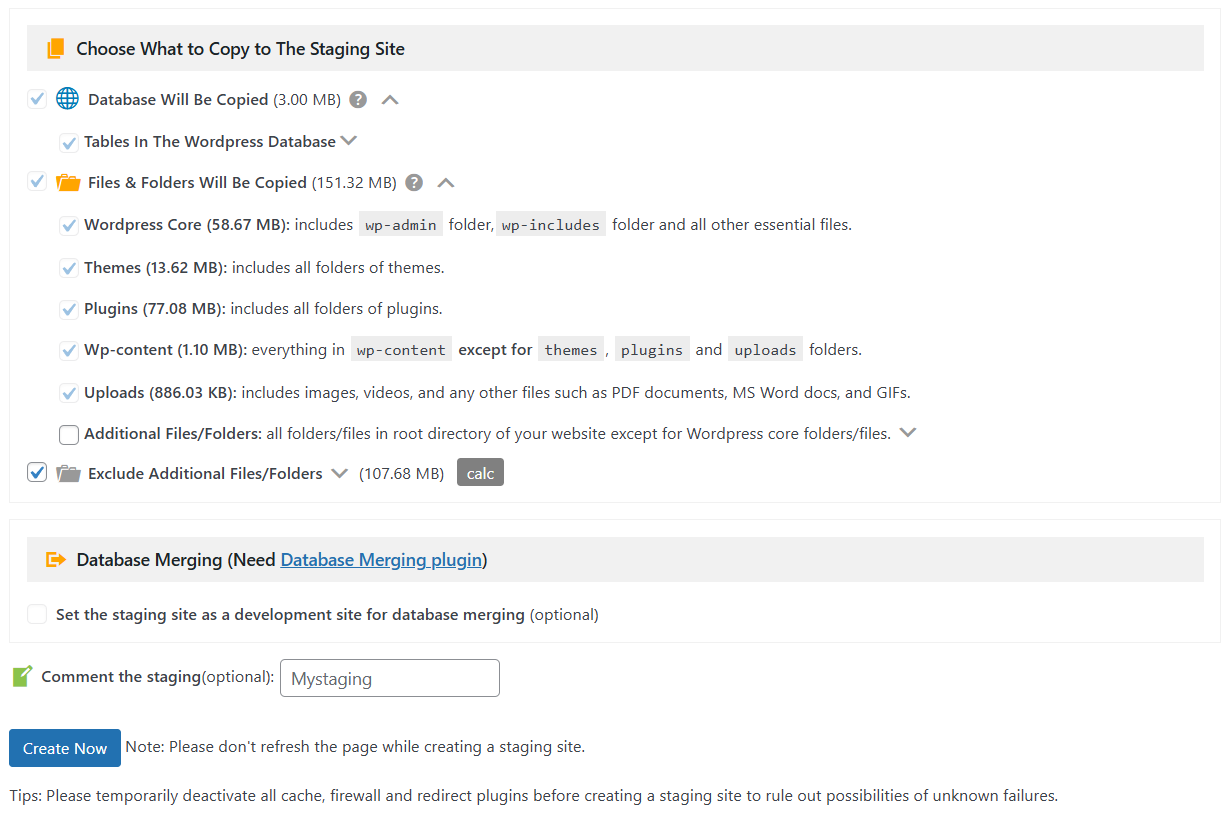
Step 3: Choose What to Copy
WPvivid gives you granular control over what data is cloned. By default, the entire site is copied, but you can customize this to save space or time.
1. Database Customization
Expand the Database Will Be Copied section to see a list of all tables. Deselect any specific tables you do not wish to include in the staging environment.
2. File and Folder Exclusions
Expand the Exclude Additional Files/Folders section to filter out heavy or unnecessary data:
- 1. Use the dropdown to browse directories like
/themes,/plugins, or/uploads. - 2. Select specific files or folders to exclude them.
- 3. Common exclusions include large media libraries or old backup folders that aren’t needed for testing.
Step 4: Launch the Staging Site
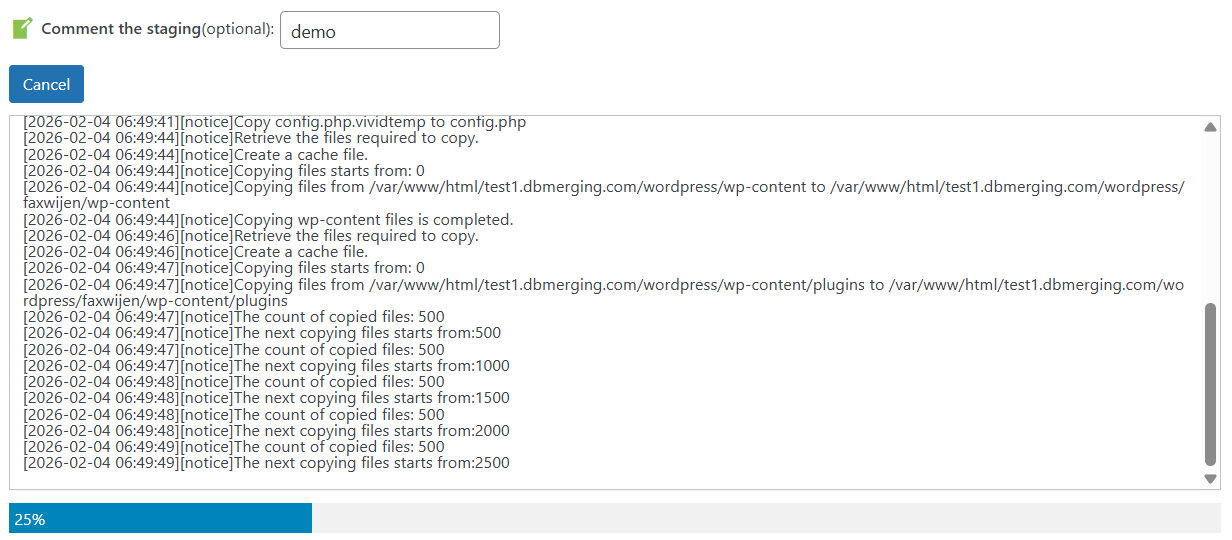
Once your configurations are set, click the Create Now button.
- 1. Important:
Do not close or refresh the browser tab while the process is running. The time required depends on your site size and server speed. - 2. Success:
Once complete, navigate to the Staging Sites tab. Here you will see the login URL and site details. - 3. Credentials:
Your login username and password for the staging site will be identical to your live site’s credentials at the time of creation.
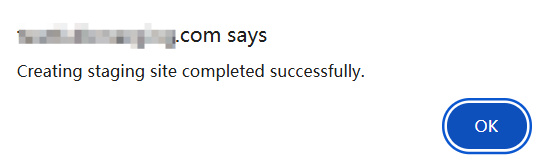
A success message will appear once the process is complete.
Tips
1. Deactivate Caching: We recommend temporarily deactivating any active caching plugins on your live site before starting the process.
2. Check Disk Space: Ensure your hosting account has enough disk space to hold a second copy of your website files and database.
3. Search Engine Privacy: WPvivid automatically sets staging sites to “Discourage search engines from indexing this site” to protect your SEO.