

This guide explains how to download existing backups from WPvivid Backup & Migration Pro and how to upload backup files into the Backup Manager. These features allow you to securely store offline copies, migrate websites, and restore backups created on other servers.
What Is Backup Download & Upload
Backup Download and Upload are file management features within WPvivid Backup Manager that allow administrators to export backup packages to local devices and import WPvivid backup files back into WordPress.
- Download
Export backup files from your WordPress server to your local computer for offline storage or migration purposes - Upload
Import WPvivid backup files from your computer to your WordPress server for restoration or management
When to Use Download and Upload
Understanding common use cases helps ensure the correct workflow is selected.
Download Use Cases
Download backups when you need to:
- Create Offline Archives
Store backup copies on external hard drives, USB drives, or local network storage for additional protection - Prepare for Manual Migration
Download backups to migrate your site to a new server or hosting provider - Backup Verification
Download and inspect backup contents to ensure completeness
Upload Use Cases
Upload backups when you need to:
- Restore from Another Site
Import backups created on a different WordPress installation - Recover Downloaded Backups
Re-import backups you previously downloaded for safekeeping - Disaster Recovery
Upload off-site backups after server failure or data loss
Accessing Download and Upload Features
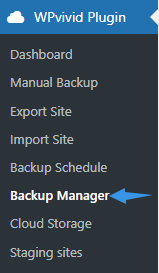
- Navigate to WPvivid Backup Pro → Backup Manager
- The unified backup list interface will be displayed
- Download and Upload controls are available directly from this page
How to Download a Backup
Downloading allows you to save backup packages from your website to your local device.
Step 1: Locate the Backup
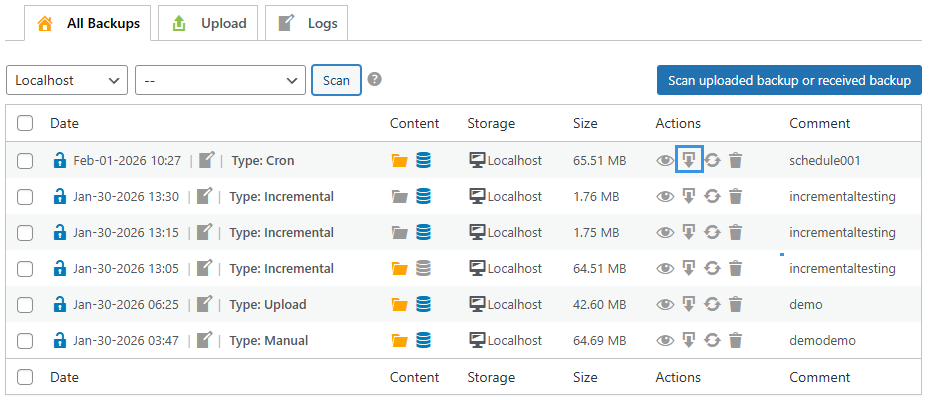
- Open WPvivid Backup Pro → Backup Manager
- Find the specific backup entry you want to download in the unified backup list
Step 2: Download Backup File
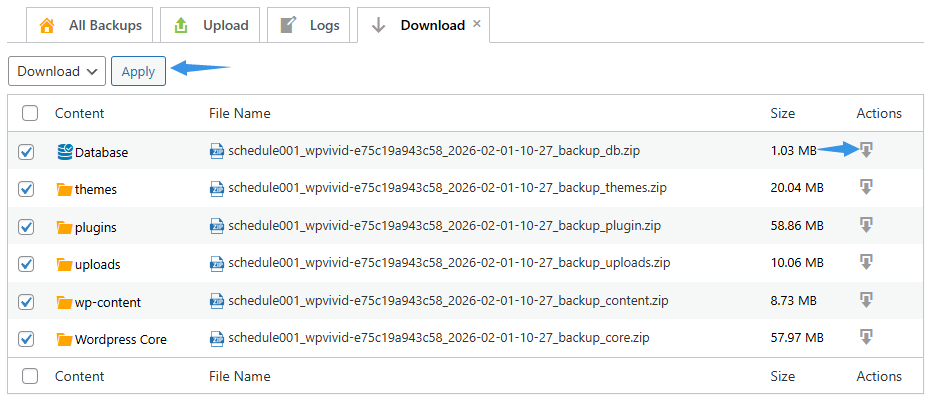
- Click the Download button next to the backup entry
- Select backup parts you want to download and click the Download button
- Your browser will begin downloading the backup archive
Step 3: Verify Downloaded File

- A progress indicator shows download completion percentage
- Don’t close the browser window until the download completes
- Check your browser’s download folder for the completed file
Recommendation
Test the downloaded backup file by extracting (unzipping) it on your computer. This verifies the zip file isn’t corrupted due to network issues during download. If extraction fails, try downloading again.
Test the downloaded backup file by extracting (unzipping) it on your computer. This verifies the zip file isn’t corrupted due to network issues during download. If extraction fails, try downloading again.
How to Upload a Backup
Uploading allows you to import WPvivid backup packages into Backup Manager for restoration or management.
Step 1: Access Upload Interface
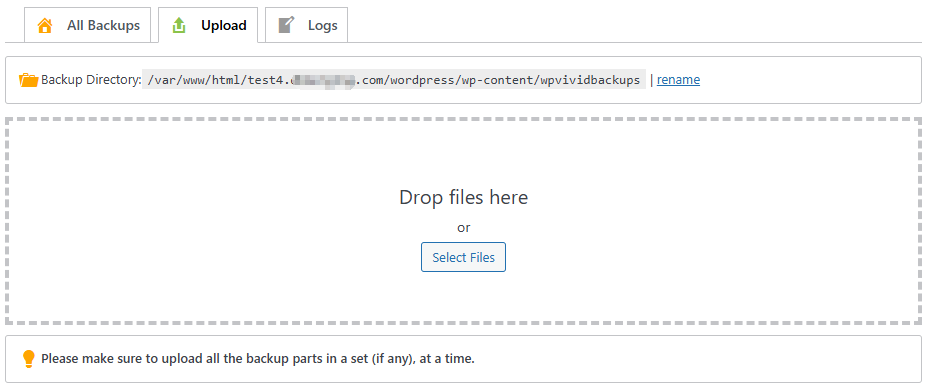
- Go to WPvivid Backup Pro → Backup Manager
- Click the Upload tab
- The upload interface will appear with a file drop area
Step 2: Select Backup Files
You can upload files using either method:
- Drag backup files directly into the upload area
- Or click the Select Files button to open your file browser and select backup files
Step 3: Upload Backup Files

- Once files are selected, click the Upload button to begin the upload process
- Do not close the browser window or navigate away during upload
Step 4: Complete Upload Process

- Wait until the upload process finishes and you’ll see a success message when upload completes
- The uploaded backup will automatically appear in the unified backup list upon successful uploading
- Click Scan Upload or Received Backup button if the uploaded backup does not appear automatically
- The backup is now ready for restoration or management like any other backup
Note
1. Some backups may consist of multiple parts, ensure all backup archive parts are uploaded together.
2. The Backup Manager only works with backups created by WPvivid (Free or Pro versions). Backups from other WordPress backup plugins cannot be uploaded or restored through WPvivid.
1. Some backups may consist of multiple parts, ensure all backup archive parts are uploaded together.
2. The Backup Manager only works with backups created by WPvivid (Free or Pro versions). Backups from other WordPress backup plugins cannot be uploaded or restored through WPvivid.