

This guide explains how to configure WPvivid Backup & Migration Pro to store backups using FTP, SFTP, or FTP2 protocols, including connection setup, folder organization, and the differences between each storage option.
What Is FTP/sFTP/FTP2 Integration?
WPvivid Backup & Migration Pro integrates with FTP, sFTP, and FTP2 protocols to store backups on your own server, NAS devices, or custom hosting environments. You can define custom folders for each website within the same server account to keep backups well organized.
Path Example:
- 1.
/home/username/wpvividbackuppro/site_a_com/ - 2.
/home/username/wpvividbackuppro/site_b_com/
The plugin also supports custom port configuration, allowing you to connect to FTP servers on non-standard ports used by various web hosting platforms.
Storage Options Explained
- FTP
Uses standard FTP protocol and allows WPvivid to create and manage its own backup directory structure with custom parent folder and subfolder settings. Choose this option if you want WPvivid to manage backup folders automatically. - FTP2
Uses FTP protocol with an alternative connection method. Stores backups directly under a specified absolute path without requiring parent folder or subfolder configuration. Choose this option if you already have a predefined FTP directory structure and want full control over where backups are stored. - SFTP
Transfers files over an encrypted SSH connection (default port 22). Requires SSH access enabled on the remote server. Choose this option if your server supports SSH and secure data transfer is required.
Configuration Steps
1. Access Remote Storage Settings
- Log in to your WordPress admin dashboard.
- Navigate to WPvivid Plugin → Remote Storage.
- Choose the cloud option: FTP, FTP2, or SFTP.
2. Enter Connection Information
Provide the required server connection details:
- Unique Alias:
Enter a recognizable name for this storage connection (e.g.,FTP-Server001). - Server Address:
Enter the FTP or SFTP server hostname or IP address. - Username:
Enter the username for the remote server. - Password:
Enter the corresponding password. - Port:
Specify a custom port if required by your server (e.g.,21for FTP,22for SFTP). - An Absolute Path:
Enter the absolute path on the remote server for storing backups.
3.1. Configure Storage Path for FTP
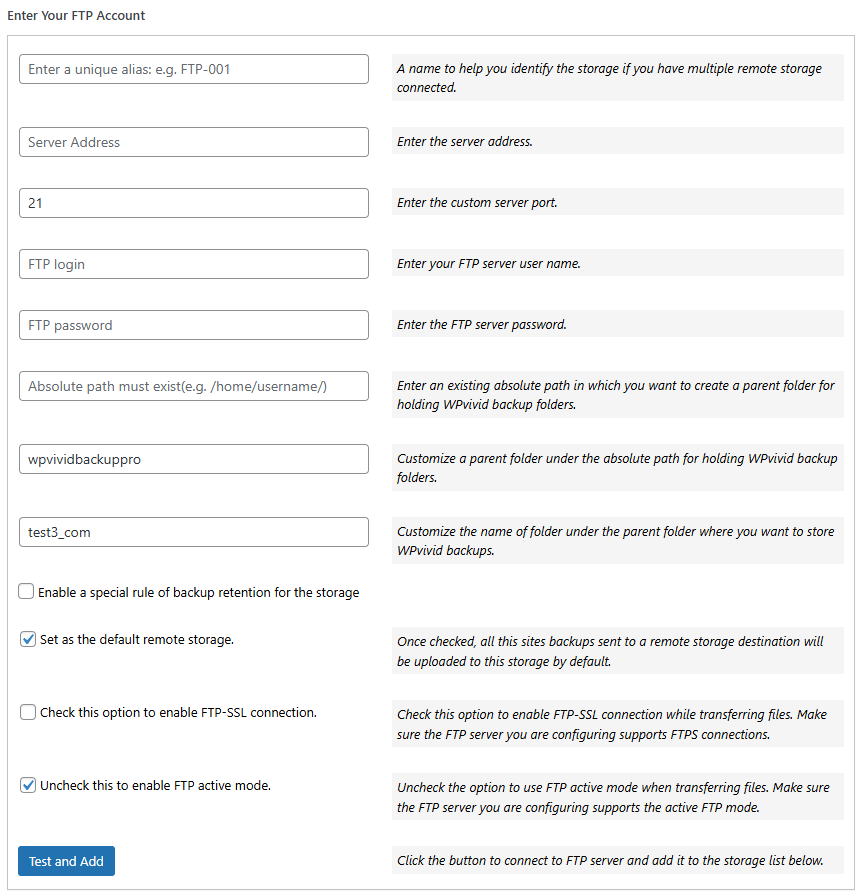
- Custom Parent Folder:
Define the main folder name where WPvivid will store backups. - Custom Subfolder:
Enter a unique folder name for the current website.
3.2. Configure Storage Path for FTP2
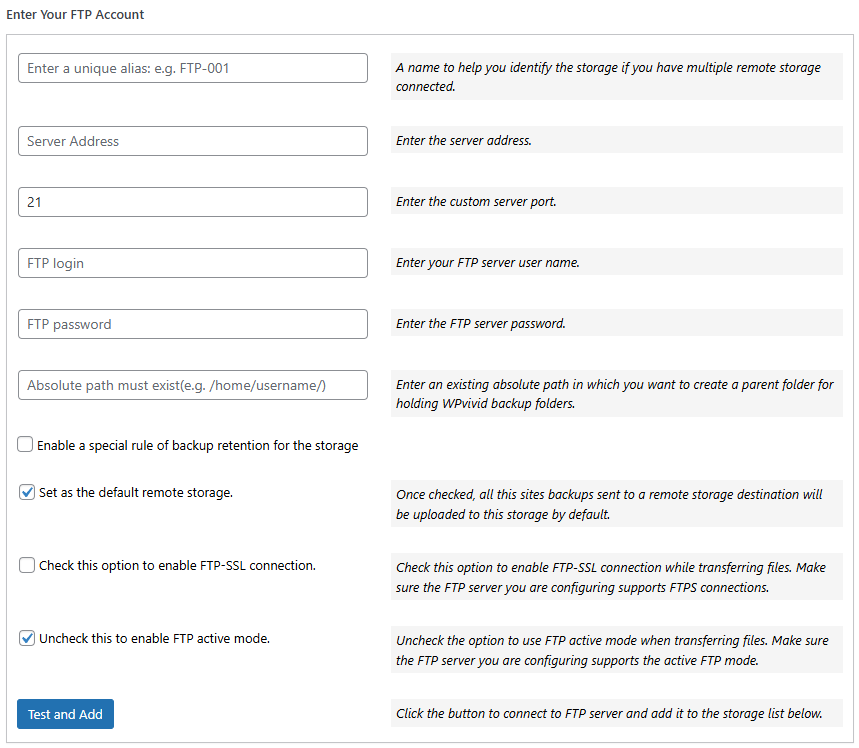
- No Custom Parent Folder or Subfolder configuration is required.
3.3. Configure Storage Path for SFTP
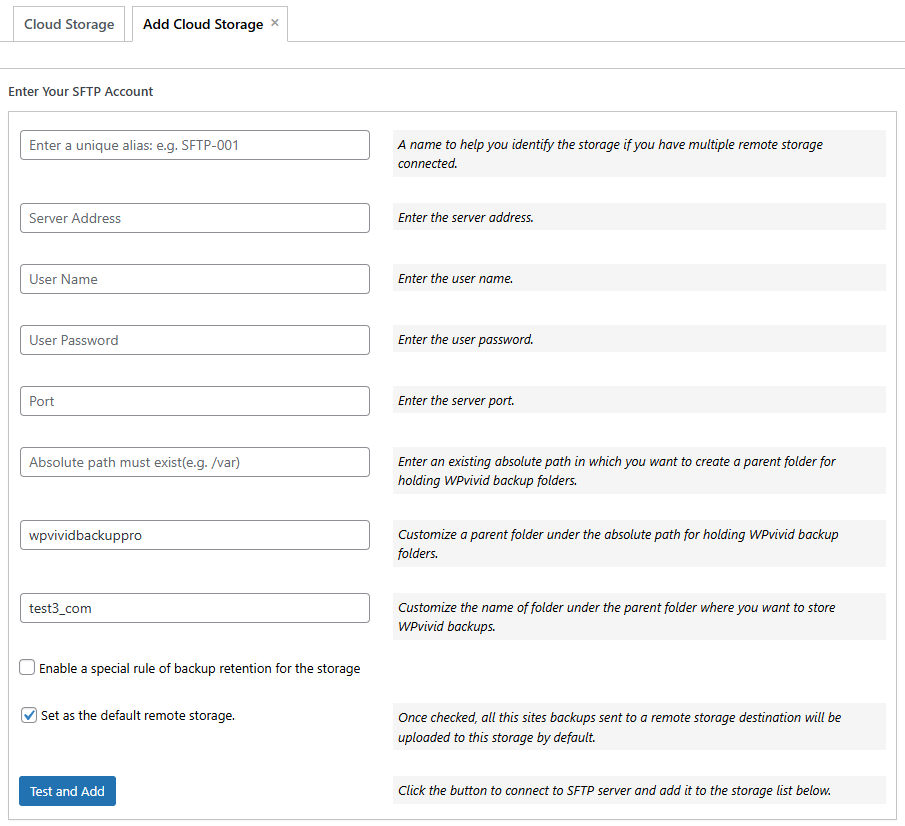
- Custom Parent Folder:
Define the main folder name where WPvivid will store backups. - Custom Subfolder:
Enter a unique folder name for the current website.
4. Additional Options
- Enable FTP-SSL Connection
Enable FTP-SSL connection while transferring files to FTP/FTP2. - Enable FTP Active Mode
Enable FTP active mode when transferring files to FTP/FTP2. - Backup Retention:
Set how many backup copies to keep on the remote server. - Set as Default Storage:
Enable this option to use the selected storage for all backups.
5. Save and Test Connection
- Click Add Now to save the remote storage settings.
- WPvivid will test the connection automatically.
- Once successful, the storage will appear in the remote storage list.