

What Is Migration Via Local?
Local migration refers to moving a WordPress site by creating a backup on the source site, downloading that backup to your computer, and then uploading and restoring it on the destination site. Unlike automatic migration, it does not require two sites to connect directly over the internet.
This method leverages WPvivid Backup Pro’s full backup and restore capabilities, offering a reliable way to replicate a site even in constrained environments.
When to Use Local Migration
Choose local migration when:
- 1. You are migrating to a local development environment.
- 2. Your source and destination sites are on different networks with no direct communication.
- 3. Hosting providers or firewalls block external connections.
- 4. You prefer manual control over backup and restore files.
Local migration is especially useful for staging, development, testing, and environments that do not allow remote connections.
Migration Workflow Summary
The manual local migration workflow consists of three phases:
1. Create a Backup on the Source Site
On the source site (the original WordPress site you want to migrate):
- 1. Log in to the source site’s WordPress dashboard.
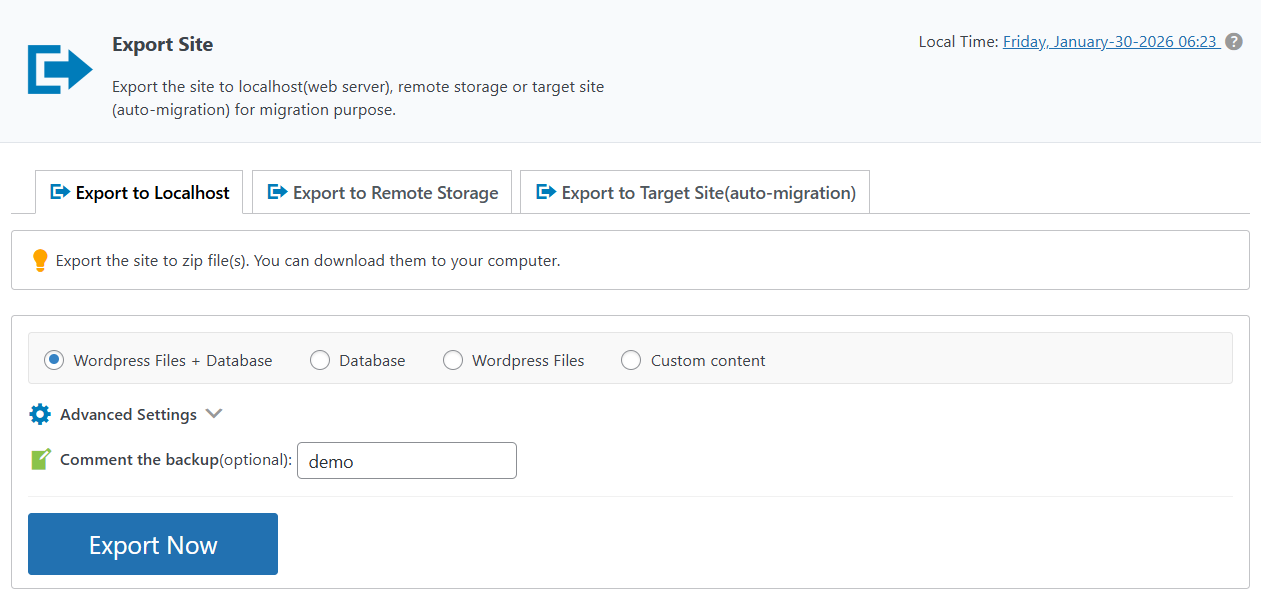
- 2. Navigate to WPvivid plugin → Export Site.
- 3. Create a Full Backup including Database and WordPress files on the Export to Localhost tab.
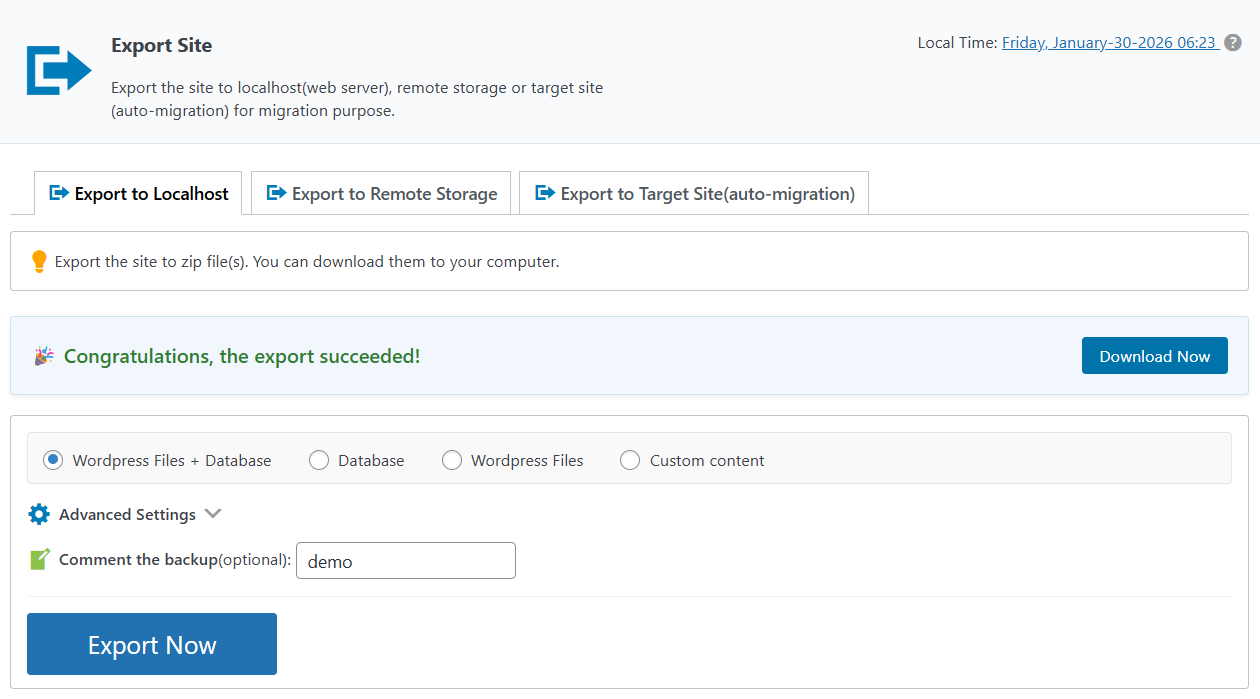
- 4. After the backup completes, download the generated archive to your local computer.
If the backup is split into multiple parts, ensure you download all parts.
2. Upload the Backup to the Destination Site
After downloading the backup archive:
- 1. Log in to the destination site’s WordPress dashboard.
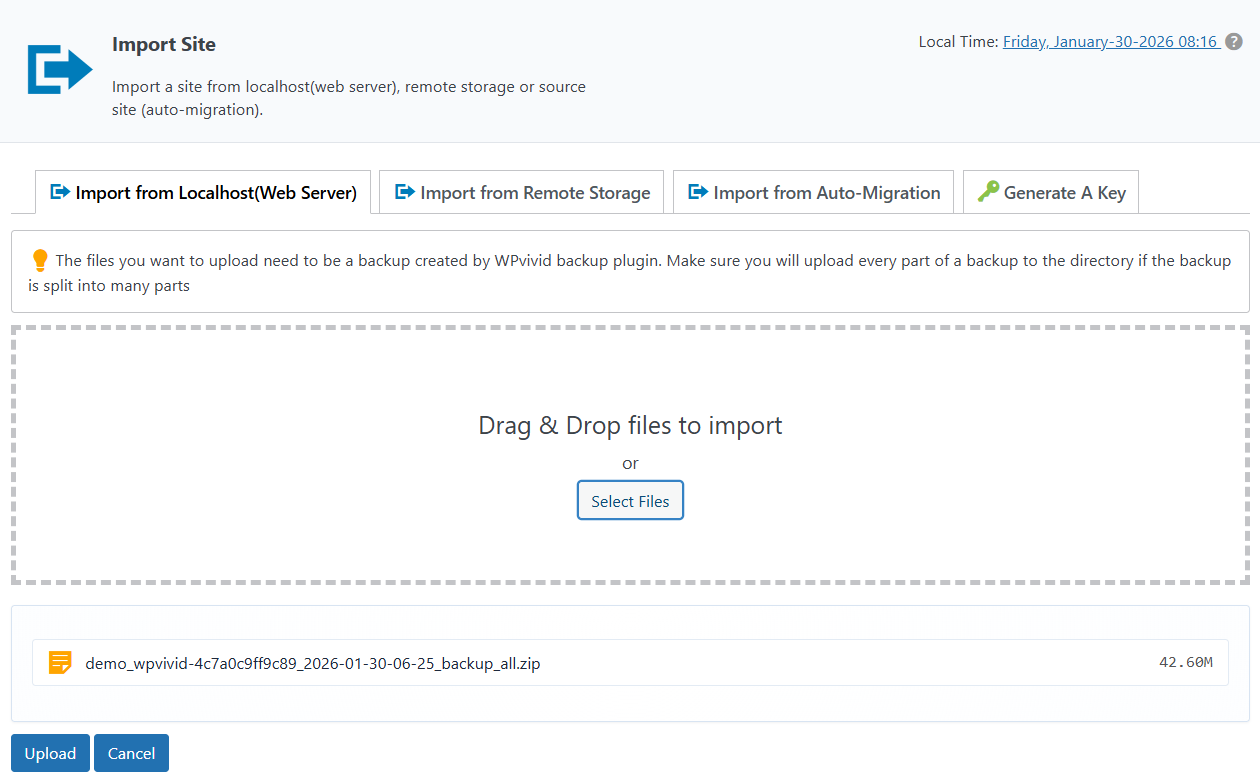
- 2. Navigate to WPvivid plugin → Import Site.
- 3. Upload the backup file(s) via the Import from Localhost (Web Server) tab.
Alternatively, you can upload the backup files via FTP or file manager to the wp-content/wpvividbackups directory to process the backups files.
3. Restore the Backup on the Destination Site
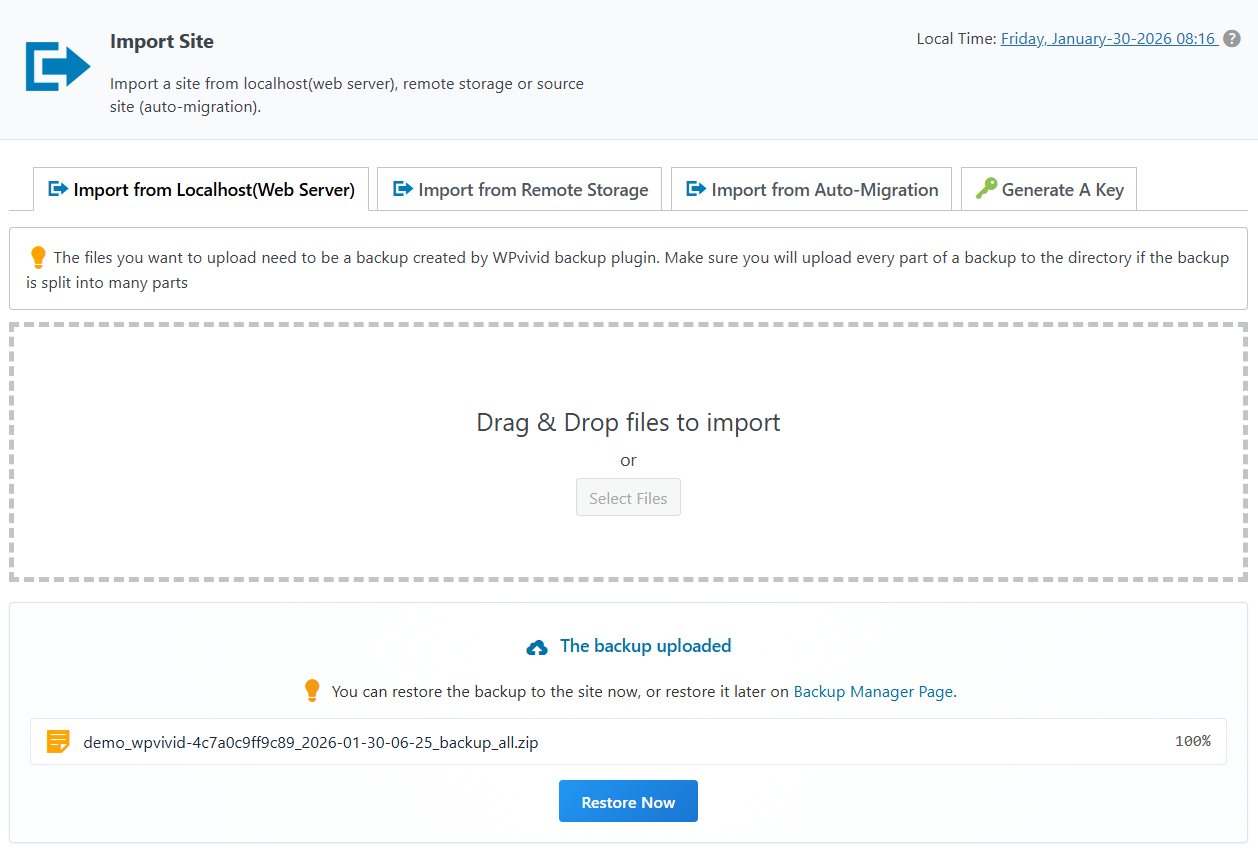
Once the backup upload is complete, the Restore Now button will appear on the Import from Localhost (Web Server) tab.
- 1. Click Restore Now button to deploy the backup.
- 2. WPvivid will unpack and apply the database and files to the destination site.
Summary
Migrating a WordPress site via local backup with WPvivid Backup Pro provides:
- 1. Manual control over migration files.
- 2. Compatibility with local development environments.
- 3. A reliable migrate-and-restore workflow.
- 4. Independence from direct site connections.
This method ensures that your WordPress site can be migrated even when auto-migration is not feasible, maintaining full site content, settings, themes, media, and plugins.
1. For successful migration, the backup you upload must include all necessary components (files + database). Partial backups may not produce a fully functioning migrated site.
2. Ensure that all required backup parts are intact and unmodified before uploading. Corrupt or incomplete backups may fail during import or restore.
3. After restoring, you may need to flush or resave permalinks (via Settings → Permalinks) to correct URL structures.
4. Some local development environments may have differences in PHP versions, database settings, or file permissions. Verify compatibility before finalizing the migration.