

How “Something” Works (optional)
Example:
CompressX always keeps the original uploaded image untouched.
To remove watermarks and rebuild your thumbnails, you need to complete the following steps manually:
Quote Example:
CompressX always keeps the original uploaded image untouched.
To remove watermarks and rebuild your thumbnails, you need to complete the following steps manually:
List style (removable):
- 1. Remove images generated by CompressX
Delete image versions generated by CompressX (such as WebP and AVIF, if enabled). - 2. Regenerate image thumbnails
Use the Thumbnail Re-Gen tool to rebuild thumbnails using the current settings. - 3. Rebuild clean thumbnails without watermarks
New thumbnails will be generated without watermarks, including JPG, PNG, WebP, and AVIF versions.
This process ensures that watermark removal is safe, reversible, and non-destructive.
This behavior applies to both CompressX Free and Pro versions.
Original uploaded images are never modified.
Watermark removal only affects generated image versions.
Thumbnail regeneration is required to fully rebuild watermark-free images.
Bulk processing may take time on large image libraries.
Re-processing images may overwrite previous optimizations.
Re-processing images may overwrite previous optimizations.
Sub-title 1
Bulk removal is recommended when you want to remove watermarks from many images at once.
Step 1: example (H4 font)
- 1. Go to CompressX → Settings.
- 2. Scroll to the bottom of the page.
- 3. Find Delete Images Generated by CompressX.
- 4. Delete generated WebP and AVIF images.
This removes all watermark-applied image versions created by CompressX.
Step 2: example (H4 font)
- 1. Go to CompressX → Toolkit.
- 2. Open Thumbnail Re-Gen.
- 3. Select Regenerate all thumbnails for all sizes.
- 4. Click Start Bulk Processing.
CompressX will regenerate all thumbnails, including JPG, PNG, WebP, and AVIF versions, without watermarks.
After this process completes, you will have clean, watermark-free thumbnails.
Image style example:

Sub title 2
Manual removal is useful when you only need to remove a watermark from one specific image.
Steps:
- 1. Go to the Media Library.
- 2. Select the image you want to remove the watermark from.
- 3. In the CompressX column, perform the option: Remove Watermark.
- 4. Perform Convert to regenerate the thumbnails for the image
This will remove watermark-applied thumbnails for that image.
To rebuild clean thumbnails for this image, regenerate thumbnails so new versions are created without watermarks.
WPvivid Backup Pro Dashboard is a centralized control center that enables users to monitor their website status, manage backups, and access all necessary WPvivid premium tools from a single interface.
This article provides an overview of each module on the dashboard.
System Information
This module provides immediate visibility into the plugin’s operational status and support resources.
-
Version: Displays the currently installed version of the WPvivid Pro.
-
Local Time: Shows the server’s local time.
-
Support Center: Provides direct links to submit a ticket, view logs, and access the documentation.
-
License & Account: Confirms the activation status and includes a link to manage license.

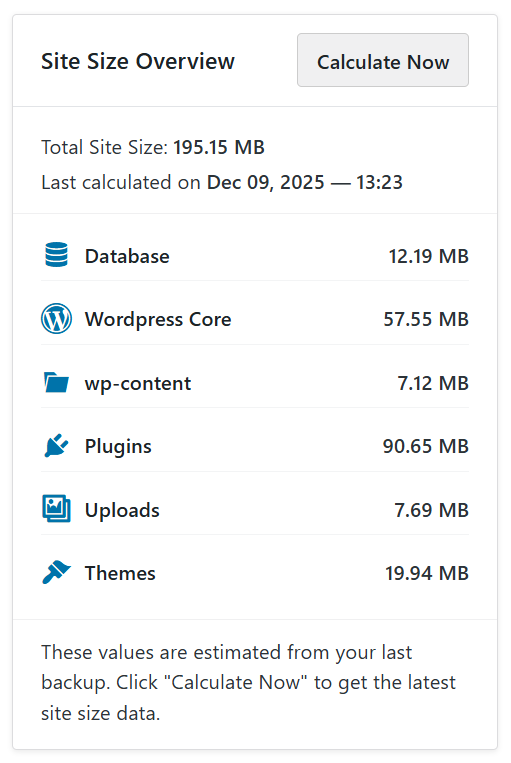
Site Size Overview
The Site Size Overview module displays the total size of the website along with a breakdown of key components, including the database, WordPress core, uploads, plugins, themes, and the wp-content directory.
You can click on the Calculate Now button to refresh the size data before generating new backups.
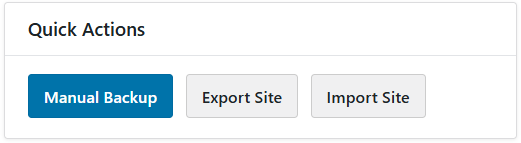
Quick Actions
The Quick Actions module provides a set of convenient shortcuts designed to streamline your workflow by offering immediate access to frequently used tasks. It includes:
-
Manual Backup: Allows you to instantly initiate a manual backup of your website.
-
Export Site: Provides a direct link to start exporting your site content and database.
-
Import Site: Navigates directly to the import interface for restoring or migrating site data.
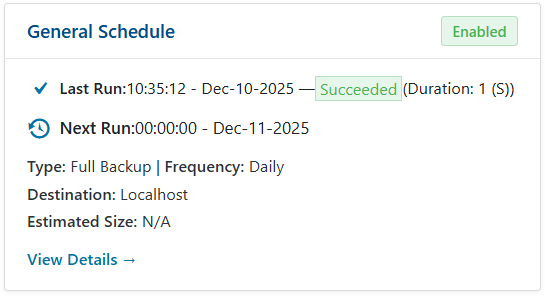
General Schedule
The General Schedule module displays the status and configuration of your general backup schedules. It provides key details including:
-
Status: Indicates whether the schedule is currently enabled or disabled.
-
Last Run: Shows the timestamp and result of the last schedule backup.
-
Next Run: Displays the exact time planned for the next scheduled backup.
-
Configuration Details: Lists the backup type (full backup), frequency (daily), and the backup destination (localhost or remote).
-
Management: Includes a View Details link to modify settings or view logs.
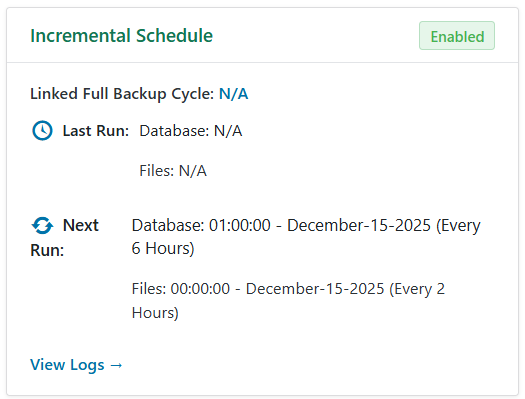
Incremental Schedule
The Incremental Schedule module manages and monitors your incremental backup routines including:
-
Status: Indicates whether the incremental schedule is currently enabled or disabled.
-
Full Backup Cycle: Displays full backup cycle associated with this incremental schedule.
-
Last Run: Shows the status of the most recent incremental backup run for both the database and files.
-
Next Run: Lists the next scheduled run times and frequencies for database and files.
-
Logs: Provides a View Logs link for detailed execution history.
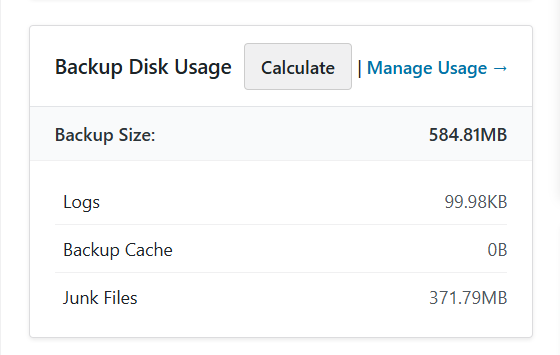
Backup Disk Usage
The Backup Disk Usage module presents the total amount of disk space consumed by backup-related files stored on the server. This includes:
-
Backup files
-
Log files
-
Backup cache
-
Junk files
You can initiate a size calculation and access space management settings directly from this module.
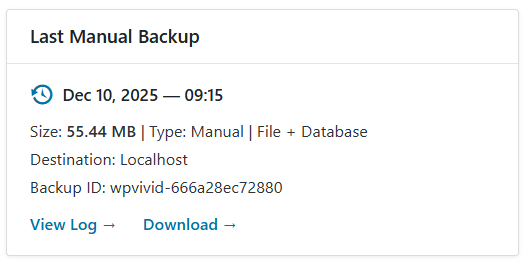
Last Manual Backup
The Last Manual Backup module provides an immediate summary of the most recently created manual backup archive. This allows for quick verification and access to the file.
-
Timestamp: Displays the exact date and time the backup was created.
-
Size: Shows the total size of the backup file
-
Content: Specifies the backup content (e.g., File + Database)
-
Destination: Indicates the location (local or cloud storage) where the file is stored
-
Backup ID: Lists the specific backup ID for tracking
-
Actions: Provides direct links to View Log and Download the backup file
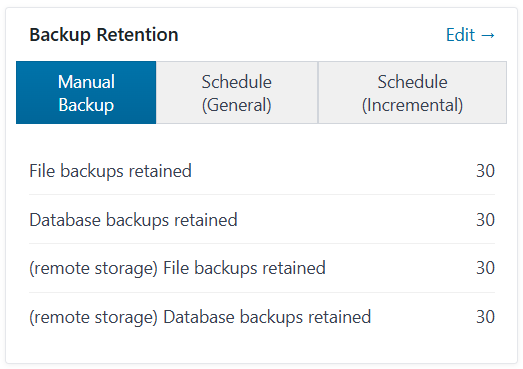
Backup Retention
The Backup Retention module shows your current backup retention settings and provide a quick link for you to edit the retention settings.
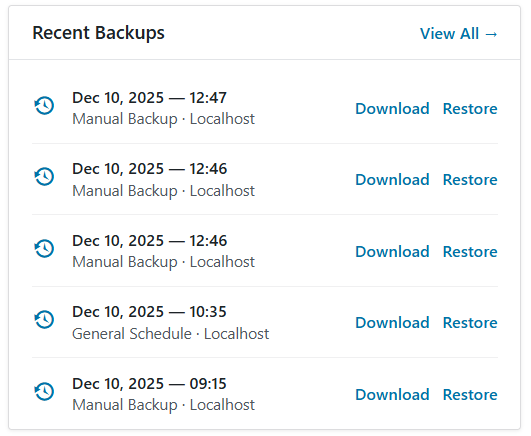
Recent Backups
The Recent Backups module provides a list of the most recently completed backup tasks. It offers immediate actions for downloading and restoring from these files.
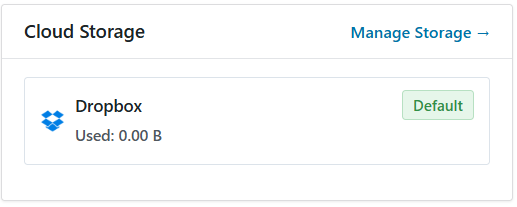
Cloud Storage
The Cloud Storage module allows users to quickly connect to cloud storage accounts, and provides an overview of all currently connected remote storage accounts:
-
Manage Storage: Provides a link to the cloud storage settings where users can add, modify, or remove remote storage accounts.
-
Connected Accounts: Lists each configured storage service (e.g., Google Drive, Dropbox).
-
Status/Designation: Indicates the role of the connected account (e.g., Default).
-
Usage: Displays the storage space currently consumed by WPvivid backups on that remote location (e.g., Used: 0.00 B).
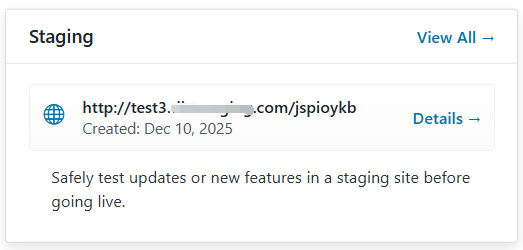
Staging
The Staging module provides a quick link to the staging creation page and provides an overview of your current staging environments:
-
Staging Sites: Displays the URL of the active staging site and its creation date.
-
Actions: Includes a View All link to the staging site list and a Details link for managing the specific environment.
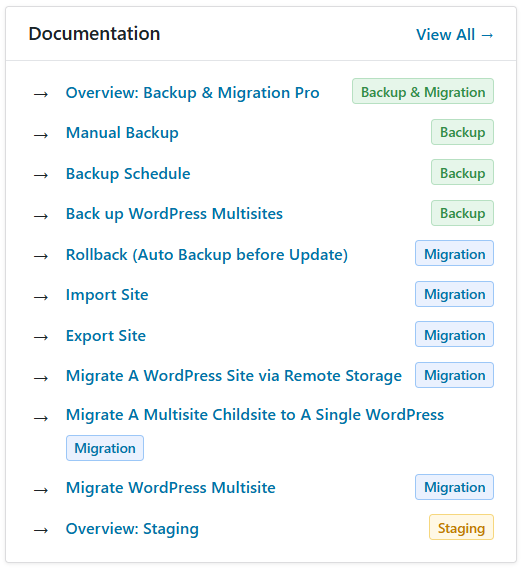
Documentation
The Documentation module serves as a navigational hub, providing quick links to key features, detailed guides, and overviews within the plugin’s knowledge base.
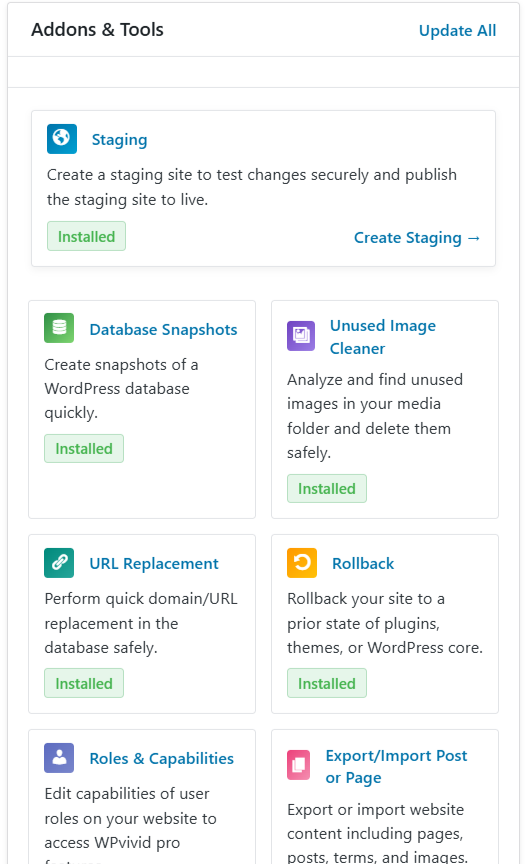
Addons & Tools
The Addons & Tools module lists all premium addons and tools included with your WPvivid Backup Pro license. You have the options to install or update addon/tools.
- Staging
- Database Snapshots
- Unused Image Cleaner
- URL Replacement
- Rollback
- Roles & Capabilities
- Export/Import Post or Page
- White Label
If you have any questions regarding the dashboard feature or require any further assistance, please feel free to contact us.