

What Does Restore Do
Restore replaces your current WordPress website with the data stored in a selected backup. Depending on the backup type, this may include:
- WordPress files
- The database (posts, pages, settings, users)
Restoring a backup allows you to return your site to a known working state when something goes wrong.
Restoring a backup will overwrite your current website data. Any changes made after the backup was created will be permanently lost.
How to Restore a Backup
Follow the steps below to restore your website using WPvivid Backup & Migration Free.
Step 1: Open Backup List
From your WordPress dashboard:
- Navigate to WPvivid Backup Plugin → Backup & Restore
- Scroll down to the Backups section
You will see a list of available manual, scheduled, uploaded, or received backups.
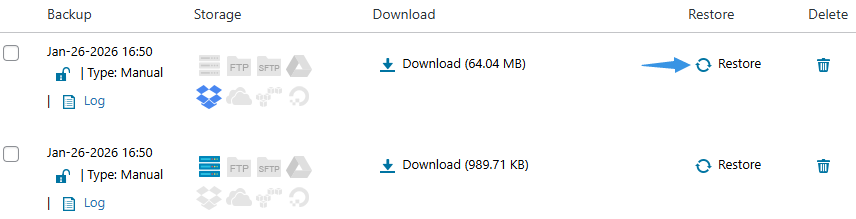
Step 2: Click Restore
Locate the backup you want to restore and click the Restore button in the corresponding row.
This will open the Restore interface in a new tab.
Step 3: Retrieve Remote Backup (If Applicable)
If your backup is stored in remote storage (such as Google Drive, Dropbox, or Amazon S3), WPvivid will display the option:
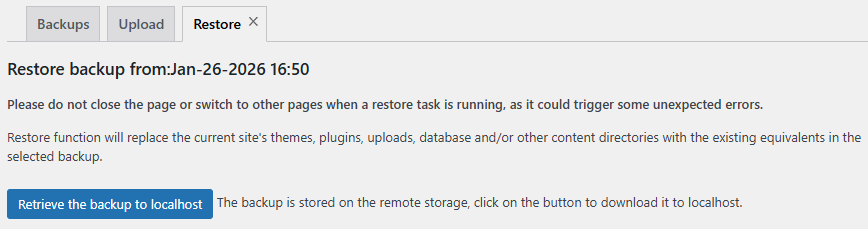
- Retrieve the backup to localhost
Click this button to download the backup package to your server before restoration.
The download time depends on your backup size and server network speed. Please wait until the download completes before proceeding.
Step 4: Start Restore Process
Once the backup file is ready locally:
- Click the Restore button
- Confirm the restore action in the popup dialog
WPvivid will immediately begin extracting files and restoring database data.
Step 5: Monitor Restore Progress
During the restore process, you will see:
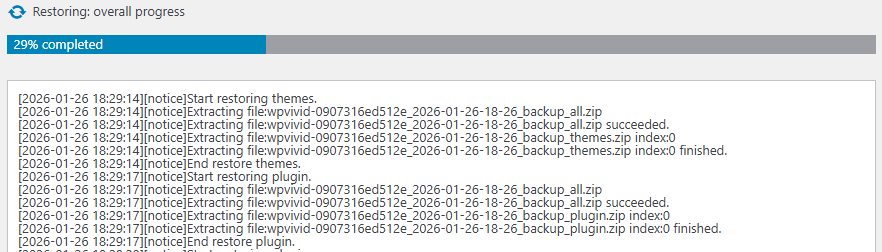
- Overall restore progress bar
- Current task status
- Detailed operation logs
Do not close your browser, refresh the page, or navigate away while the restore task is running. Interrupting the process may cause incomplete restoration and unexpected errors.
Step 6: Confirm Restore Completion
When the restore finishes successfully:
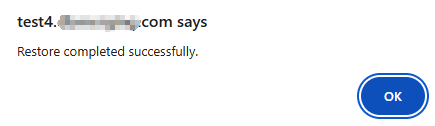
- A success message will appear
- The progress bar will reach 100%
- Your website content will be replaced with the selected backup version
You can now visit your website to verify that all content and functionality have been restored correctly.
Troubleshooting Restore Issues
If a restore process fails, times out, or becomes stuck, try adjusting the WPvivid Advanced Settings according to the following documentation.
If the issue persists, please contact WPvivid support for further optimization guidance.