

WPvivid Backup Pro is the premium version of the WPvivid Backup Plugin, offering advanced backup, migration, staging, and restore features. This article provides an overview of the installation process and explains what happens at each stage.
What You Will Need
Before you begin:
- 1. Access to the WordPress admin dashboard of the site where you want to install the plugin.
- 2. An active WPvivid Backup Pro license purchased from the WPvivid website.
- 3. The WPvivid Installer package downloaded from your WPvivid account area.
Installation Overview
Installing WPvivid Backup Pro involves four key actions:
- 1. Downloading the installer
- 2. Installing the WPvivid Installer
- 3. Activating your Pro license
- 4. Installing Pro addons
Each of these steps allows you to fully unlock the professional features of WPvivid Backup Pro.
Step 1: Download WPvivid Installer
- 1. Log in to your WPvivid account on the official website and navigate to the Downloads section.
- 2. Download the WPvivid Installer ZIP file to your computer.
This installer package is used to upload and activate the Pro version within your WordPress site.

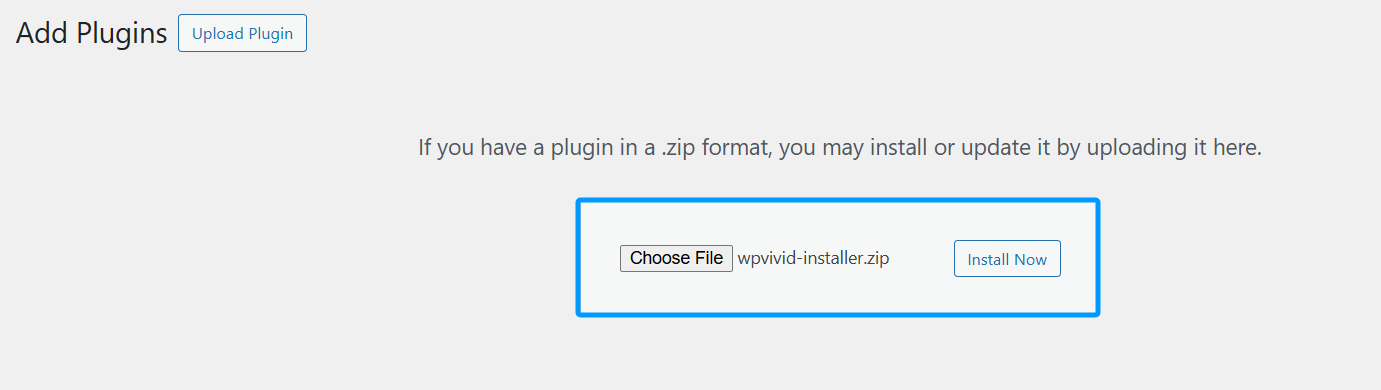
Step 2: Install the WPvivid Installer
In your WordPress dashboard:
- 1. Go to Plugins → Add New.
- 2. Click Upload Plugin.
- 3. Select the WPvivid Installer ZIP file you downloaded.
- 4. Click Install Now.
- 5. After installation, click Activate Plugin.
Note
On multisite installations, the WPvivid Installer should be installed and activated via the Network Admin interface.
On multisite installations, the WPvivid Installer should be installed and activated via the Network Admin interface.
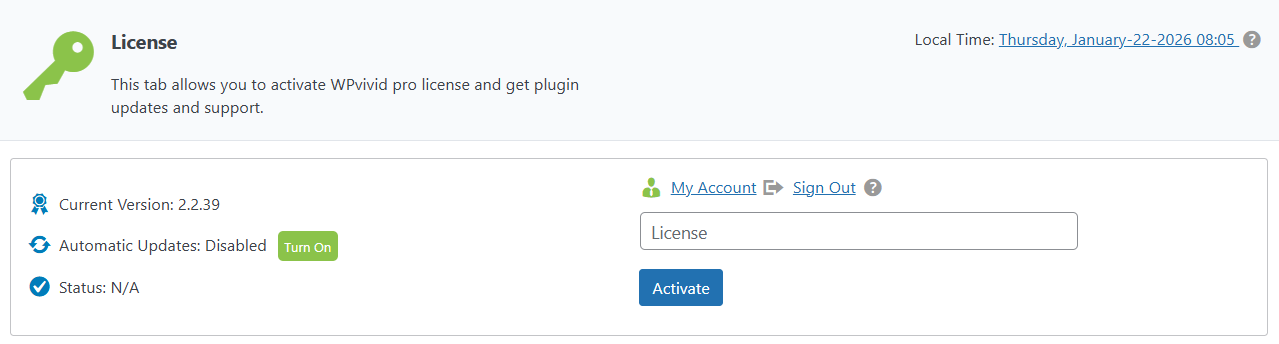
Step 3: Activate Your WPvivid Pro License
After installing the WPvivid installer:
- 1. Navigate to the License tab in the WPvivid plugin menu.
- 2. Enter your WPvivid Backup Pro license key obtained from your WPvivid account.
- 3. Click Activate.
The license activation enables premium features and updates for the plugin.
Note
The free version of WPvivid Backup plugin is required for Pro to function. If the free version is not already installed, WPvivid prompts you to install and activate it automatically.
The free version of WPvivid Backup plugin is required for Pro to function. If the free version is not already installed, WPvivid prompts you to install and activate it automatically.
Step 4: Install WPvivid Pro Addons
Once the license is activated, you are redirected to the WPvivid dashboard within WordPress.
- 1. Find the Addons & Tools section.
- 2. You can install any available Pro addons such as Staging, Rollback, White Label, and more.
- 3. Simply select the addons you want and click Install.
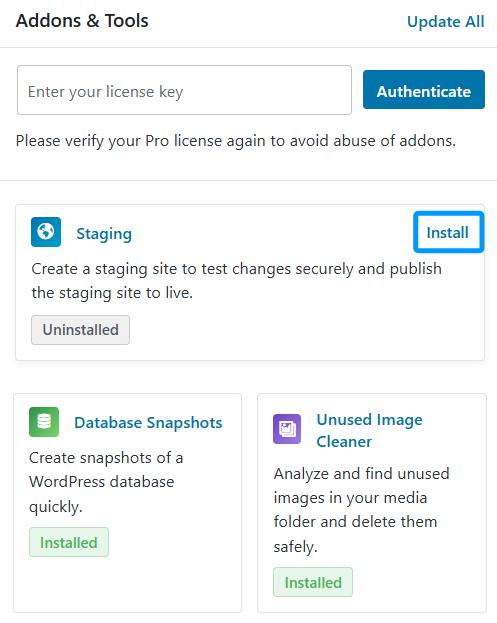
This modular approach allows you to enable only the features you need.
After Installation
After installation and activation:
- 1. All Pro features become available in the WPvivid menu.
- 2. You can start configuring backups, automatic schedules, remote storage destinations, staging sites, Roles & Capabilities, and more.
- 3. Regular updates are delivered through your WordPress dashboard once the license is active.