WPvivid Image Optimization Pro comes with the option to convert your WordPress website images to WebP format.
By converting to WebP, your images size will be significantly reduced, hence your website will be sped up, and the best part is that your image quality will be preserved.
Let’s see how to convert images to WebP with WPvivid Image Optimization Pro
How to Convert Images to WebP in WordPress?
To convert Images to WebP, you will need to enable ‘WebP Converting’ options in the plugin settings first.
On your WordPress admin dashboard > on the left admin menu, click WPvivid Plugins > Click Settings > Click Image Optimization:
- Check the box for ‘Convert JPG and PNG to WebP’: With the option checked, the plugin will create a WebP version for each of your JPG and PNG image.
- Check the box for ‘Enable WebP format on your site’: with the option checked, WebP images will be served on the site front-end.
- Check the box for ‘Use picture tag’: The default option the plugin uses to display WebP images on your website. Switch to the ‘Use rewrite rule’ option if images do not correctly display.
- Click ‘Save Changes’ button to make the settings take effect.

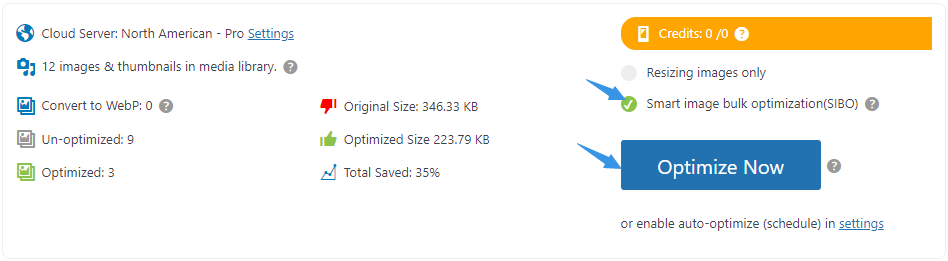
Once the options are enabled, go to the Image Optimization page > Choose ‘Smart Image Bulk Optimization’ option > Click on ‘Optimize Now’ button, then our plugin will automatically convert the website images to WebP and display WebP images on the site.
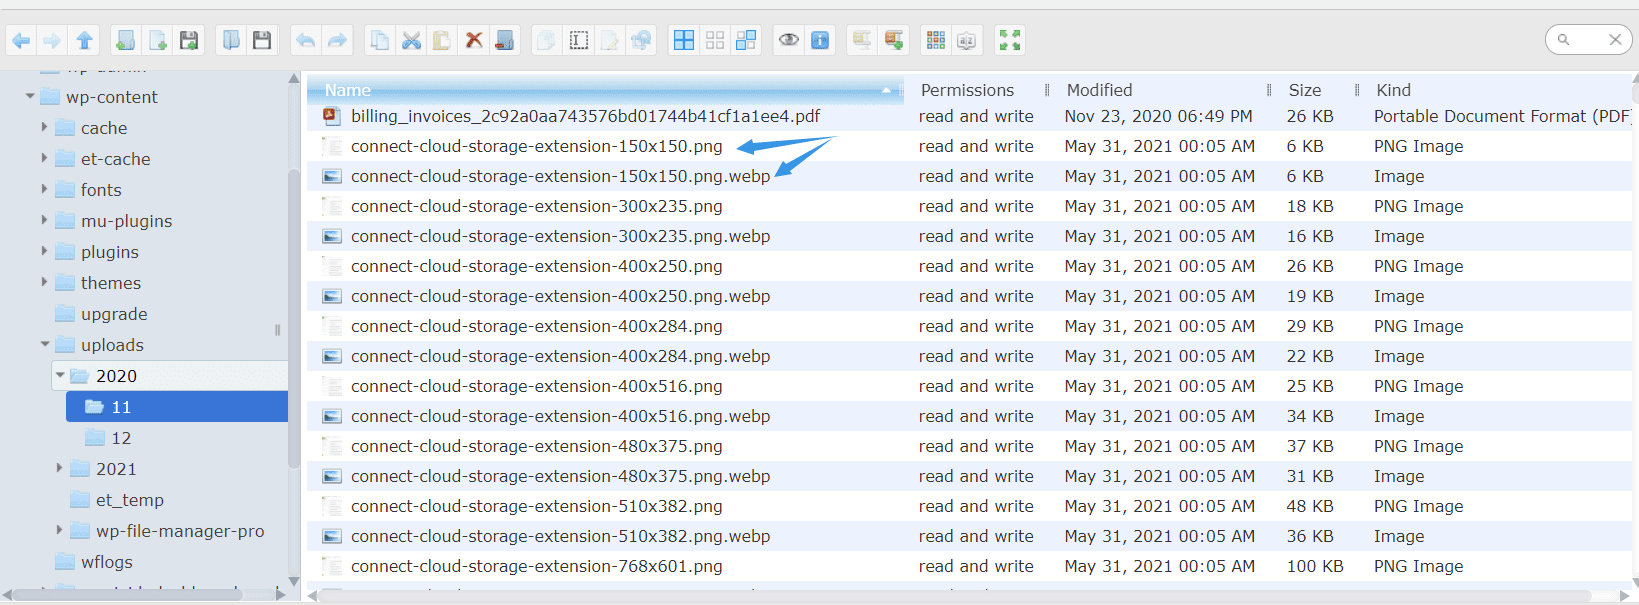
The WebP images are saved in the same directory where the original images are saved. You can check them via a FTP tool.
How to Check If WebP Images Have Been Effected?
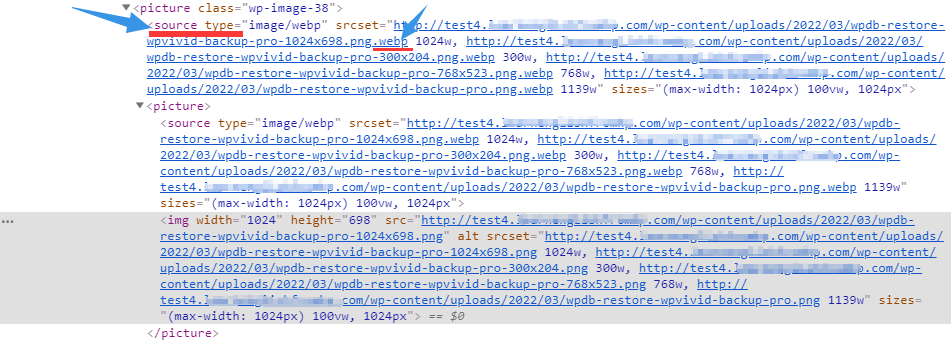
1. For WebP converted with ‘picture tag’ option
Right click on an image of your website, and click ‘Inspect’. You will see the urls of the image in the <source type ended with a .webp suffix.
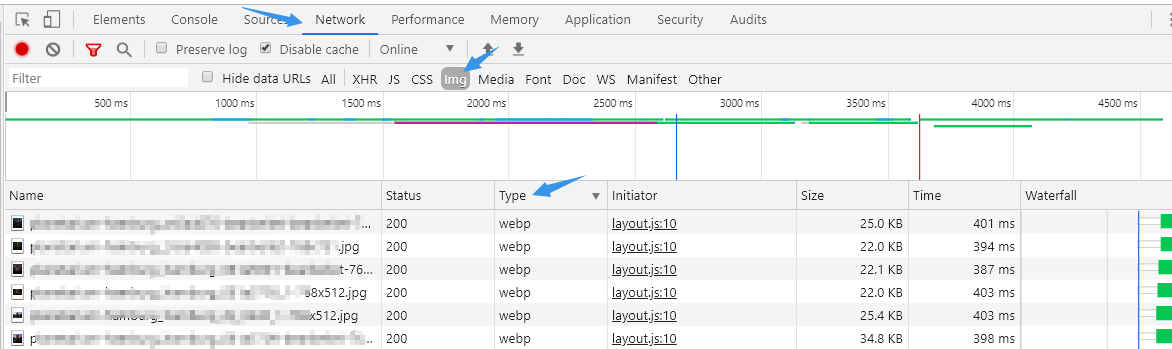
2. For WebP converted with ‘rewrite rule’ option
Right click on an image of your website, and click ‘Inspect’, click ‘Network’ > ‘Img’ > you will see the Type of the image is WebP.
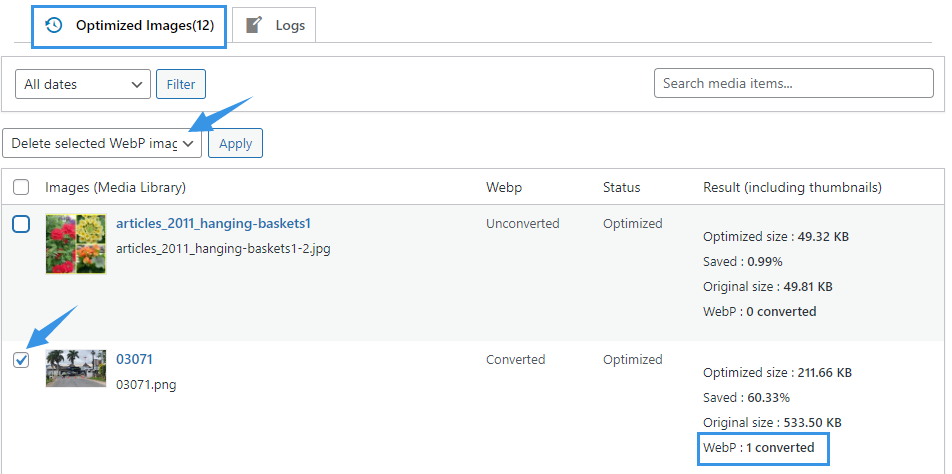
How to Delete WebP Images?
To delete WebP images, go to the Image Optimization page > Optimized Images list > Select the WebP images you want to delete > Select ‘Delete selected WebP images’ option from the dropdown menu > Click ‘Apply’.
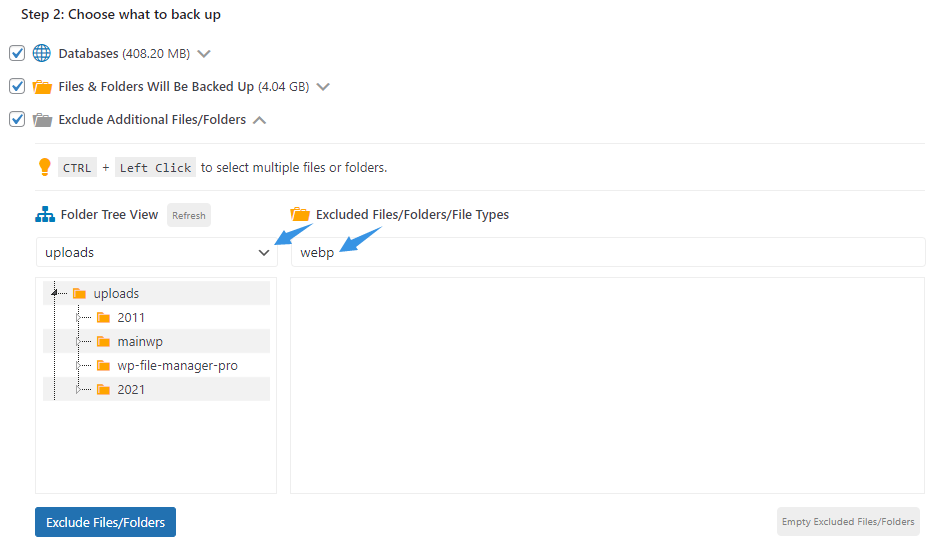
How to Exclude WebP Images from Backup
If you want to exclude WebP images when taking backups for your website, on the ‘Choose what to back up’ section when creating a manual backup or setting up a backup schedule > Expand the option ‘Exclude Additional Files/Folders’ > Select uploads from the dropdown menu > Enter ‘webp’ in the filed.
Once done, all webp images in the /uploads directory will be excluded from the backup.