WPvivid Image Optimization plugin is an all-in-one WordPress image optimization plugin that provides the ability to easily optimize images on your WordPress website in bulk, which will greatly help to improve Google PageSpeed Insights score of the website.
In this guide, we’ll see how to use WPvivid Image Optimization plugin to optimize images on your WordPress site.
Install WPvivid Image Optimization Free
Like any other WordPress plugins, you can easily install the WPvivid Image Optimization plugin from your WordPress dashboard.
First, on your WordPress dashboard > left admin menu > Plugins > Add New.
On the page that opens, search for WPvivid Image Optimization > Click Install > Click Activate.
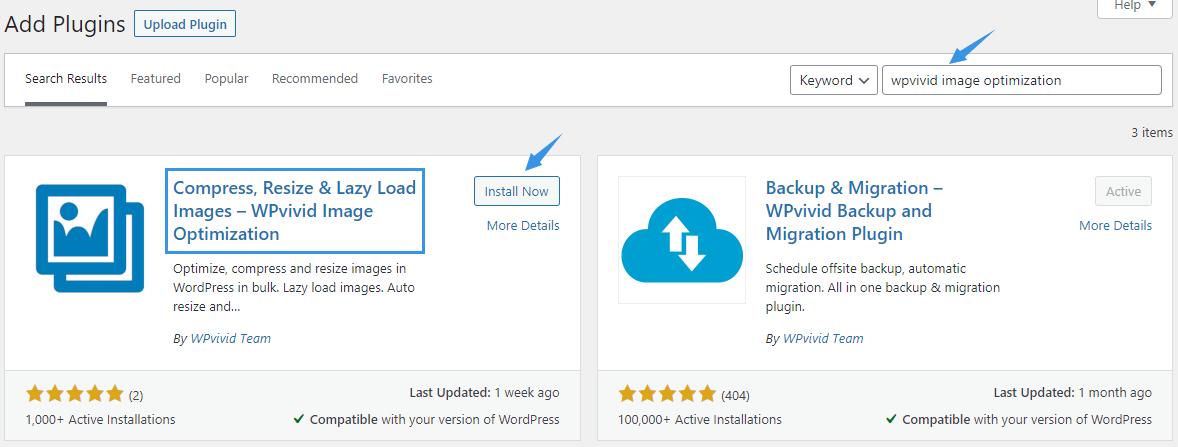
Once done, you will see WPvivid Imgoptim showing up on your left admin menu. Click it to open the plugin page.
Sign up to Get An API License(It’s Free!)
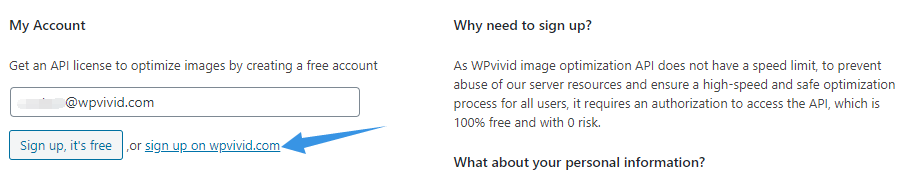
Next, on the plugin page, you will need to sign up to get an API license. You may ask why do I need to sign up? That is because we use our own private server groups for images optimization, for security reasons, users will need to sign up to gain access to the servers.
To sign up, simply enter your email on the field, then click Sign up, it’s free button. You will then see a message of ‘An API license has been sent to your email address, please check it.‘
Note: It’s completely free to sign up and each account signed up will have 2000 credits per month for optimizing up to 2000 images.
GDPR Note: Our servers do not receive any personal information of your website except for the images that you want to optimize. And we won’t keep any copies of your images on our sever.
Next, go to your email account, check and copy the API license in the inbox(if you do not see it in inbox, check your spam folder and make sure that your mailbox is not full).
Paste the API key on the API license field on the plugin and click Connect to Server button.
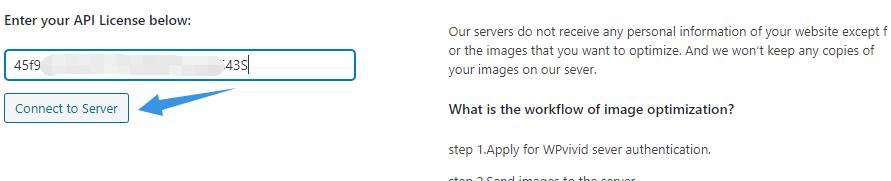
Once done, it will automatically redirect to the page where you can start optimizing images.
Start Optimizing Images
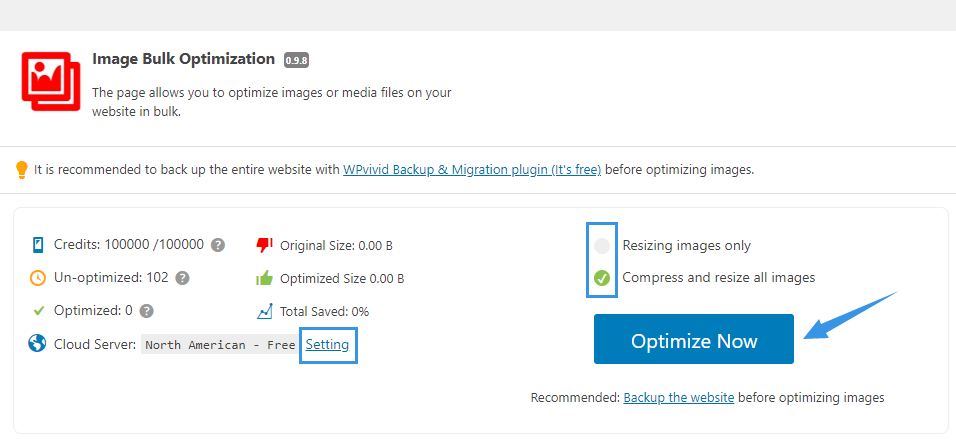
Recommended: It is recommended to back up the entire website with WPvivid Backup & Migration plugin (It’s free).before optimizing images.
Before starting optimizing images, you can choose to only resize images or compress and resize all images and choose the server where you want to perform the optimization.
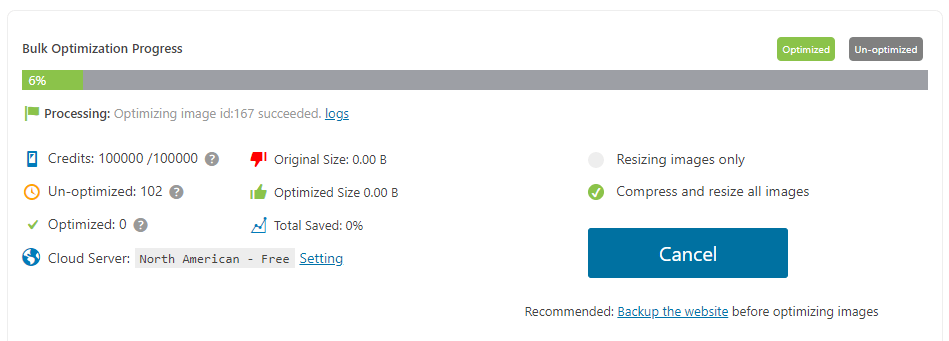
Next, click Optimize Now button to start the process.
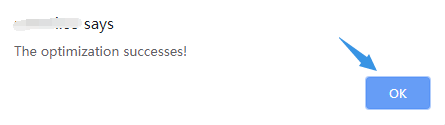
Once done, you will see a success message pop up. Click OK to confirm.
Manage(Check or Restore) Optimized Images
All optimized images will be displayed in the Optimized Images list, where you can view all the optimized images and select specific images to restore it to unoptimized status.
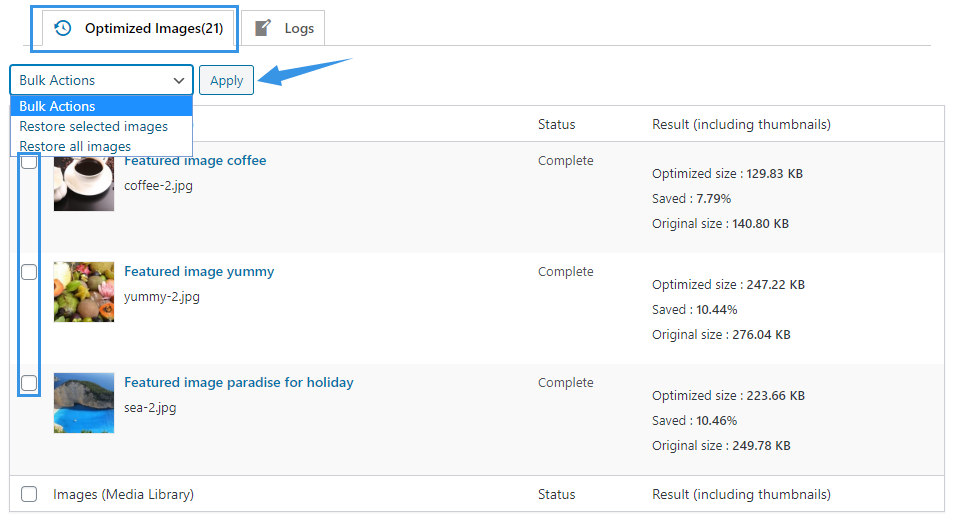
To restore an image, select it from the list and choose Restore selected images from the dropdown menu, click Apply.
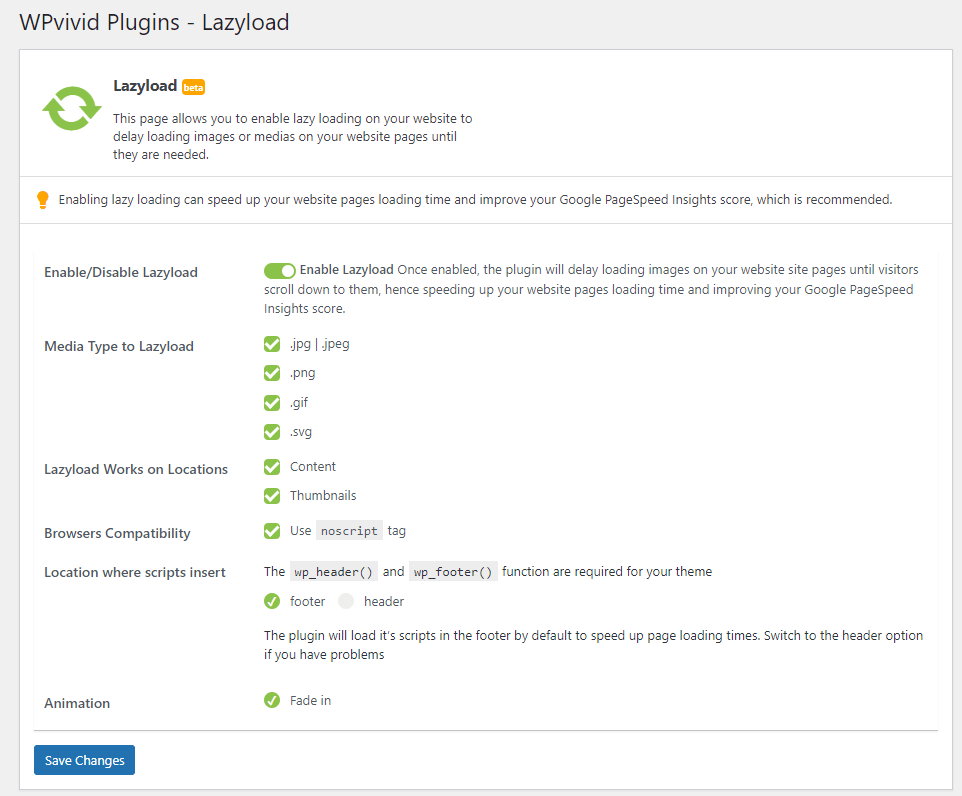
Lazyload Images
On the Lazyload page(that you can access from Lazyload under the WPvivid Imgoptim menu on your left admin menu), you can enable the images lazyload option and configure the lazyload settings as needed:
- Media Type to Lazyload: Choose media type you want to lazyload, which includes .jpg/.jpeg, .png, .gif, and .svg.
- Locations where lazyload works: Content, and Thumbnails.
- Browsers Compatibility: Use noscript tag.
- Location where scripts insert: Footer or Header, the wp_header() and wp_footer function are required for your theme.
- Animation: Fade in, and more are coming soon.
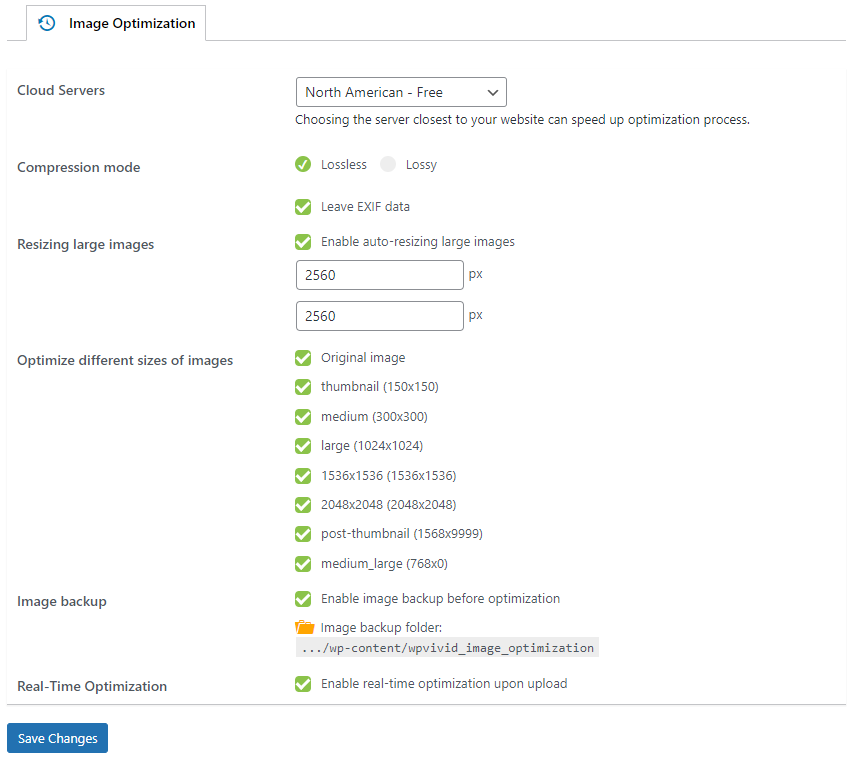
Tweak Image Optimization Settings
To tweak settings for image optimization, go to the Settings page from the plugin menu on the left admin menu.
On the Settings page, you will have the options including,
- Choose server location for image optimization
- Choose compression mode: lossless or lossy
- Enable auto-resize large images
- Optimize different sizes of images
- Enable image backup before optimization
- Enable auto-optimization for images upon upload
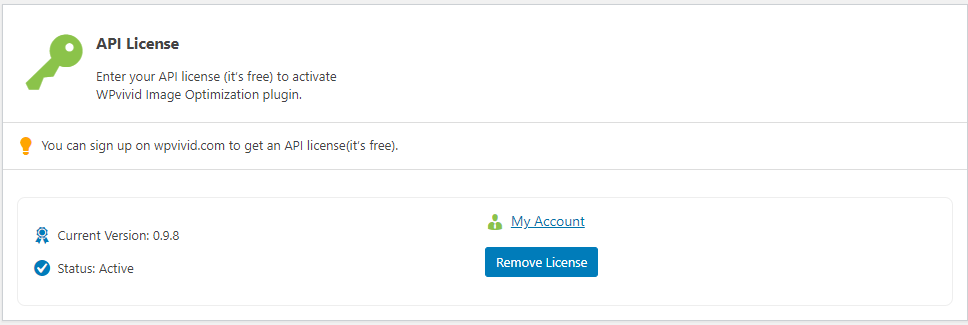
Manage API License
To manage your API license, go to the API license page, on the page, you can enter your API license or remove a license to sign out.